Preperation
- Install Wirecast on your PC.
- Prepare a setting PC. There is no problem if this is the same PC as the one on which Wirecast is installed.
- Install “FlexTally Utility” and “FlexTally For Wirecast” on the setting PC. Click here for installation instructions.
*As of May 2023, only the FlexTally Utility for Windows supports Wirecast.If you use Wirecast, please use a Windows PC for the setting PC.
- Please update the FlexTally Station Unit firmware to the latest version. See here for how to update.
- Make sure the Lamp Units are fully charged.
- Connect the Station Unit and the Lamp Units . Connection procedures are explained here.
- Please make sure the Station Unit and the the Lamp Units are connected correctly. Click here for connection instructions.
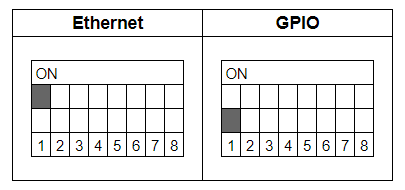
- Turn ON DIP switch No.1 of the Station Unit to set the connection method to Ethernet.
Setup Steps
- Set the DIP switch on the back of each lamp to the channel you want to use. Click here for setup instructions.
- Make sure the FlexTally Station Unit, the PC which Wirecast is installed and the setting PC are in the same network.
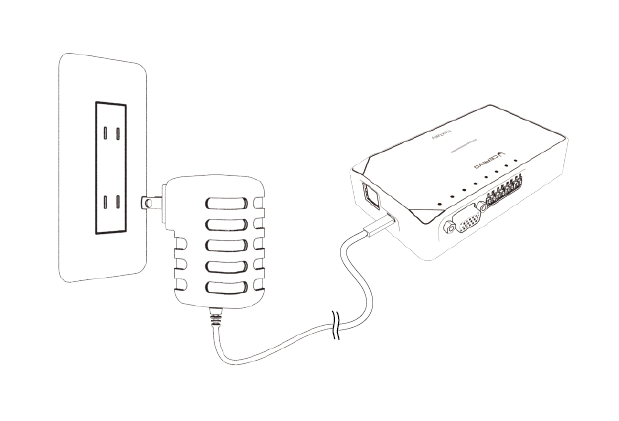
- Connect the AC adapter to the Station Unit and turn it on. When the power turns on, the status LED lights up blue.
- Start Wirecast before starting FlexTally Utility.
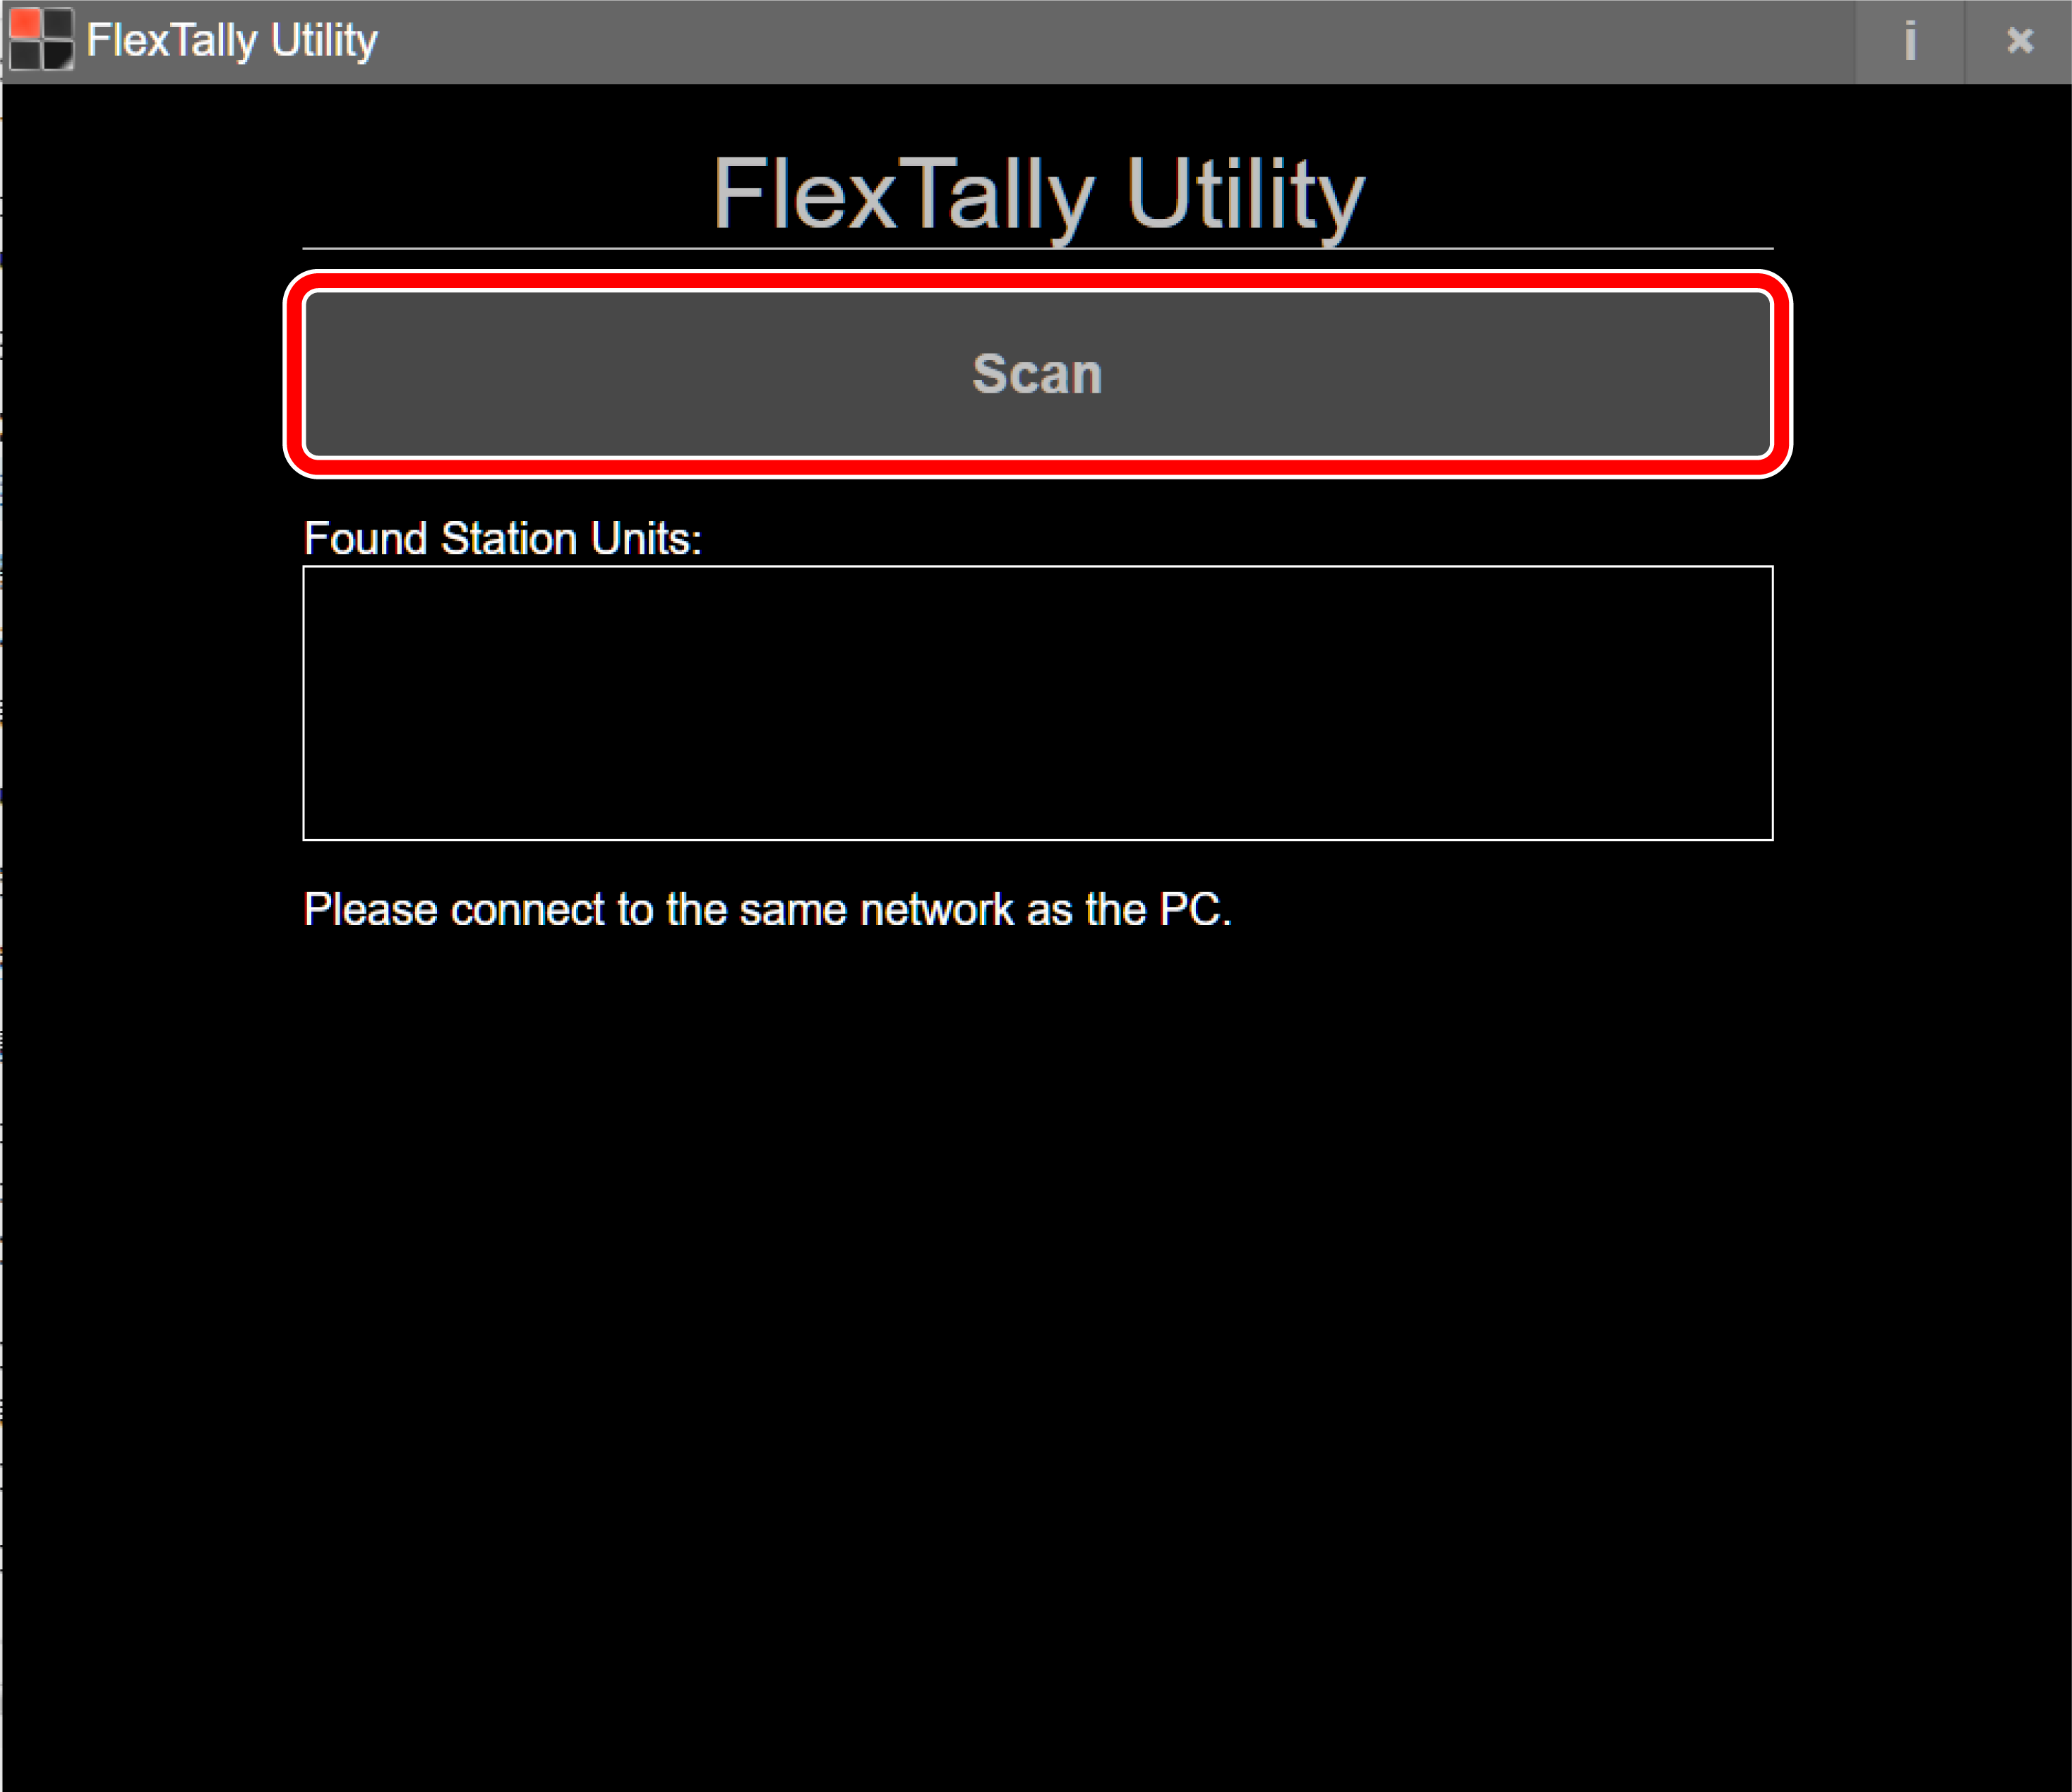
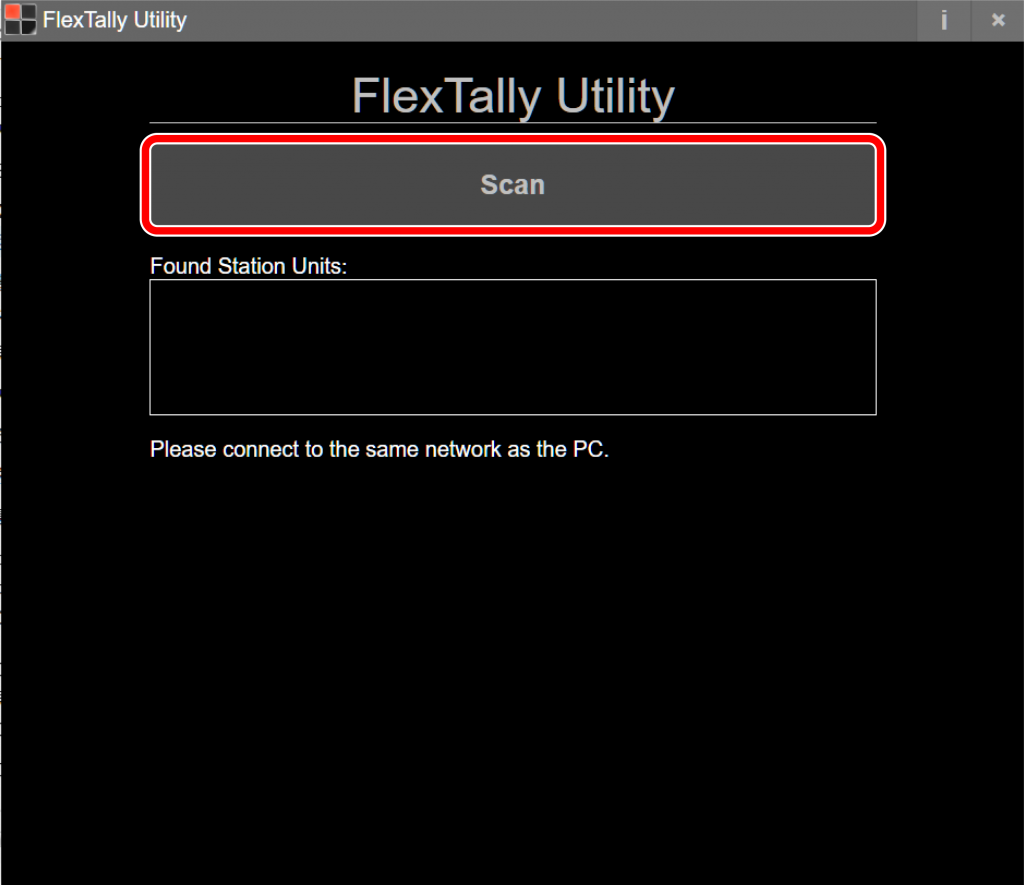
- Start the FlexTally Utility software and select “Scan”.
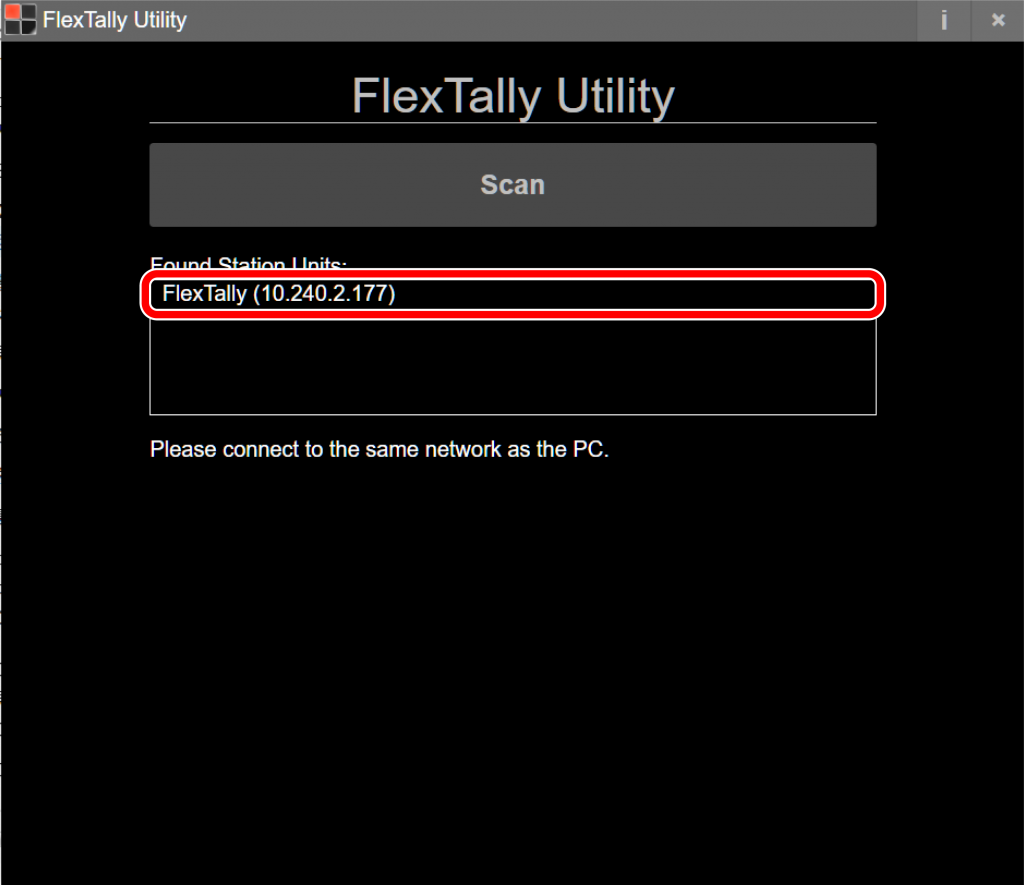
- When the Station Unit is found, the IP address will be displayed. Select the IP address.
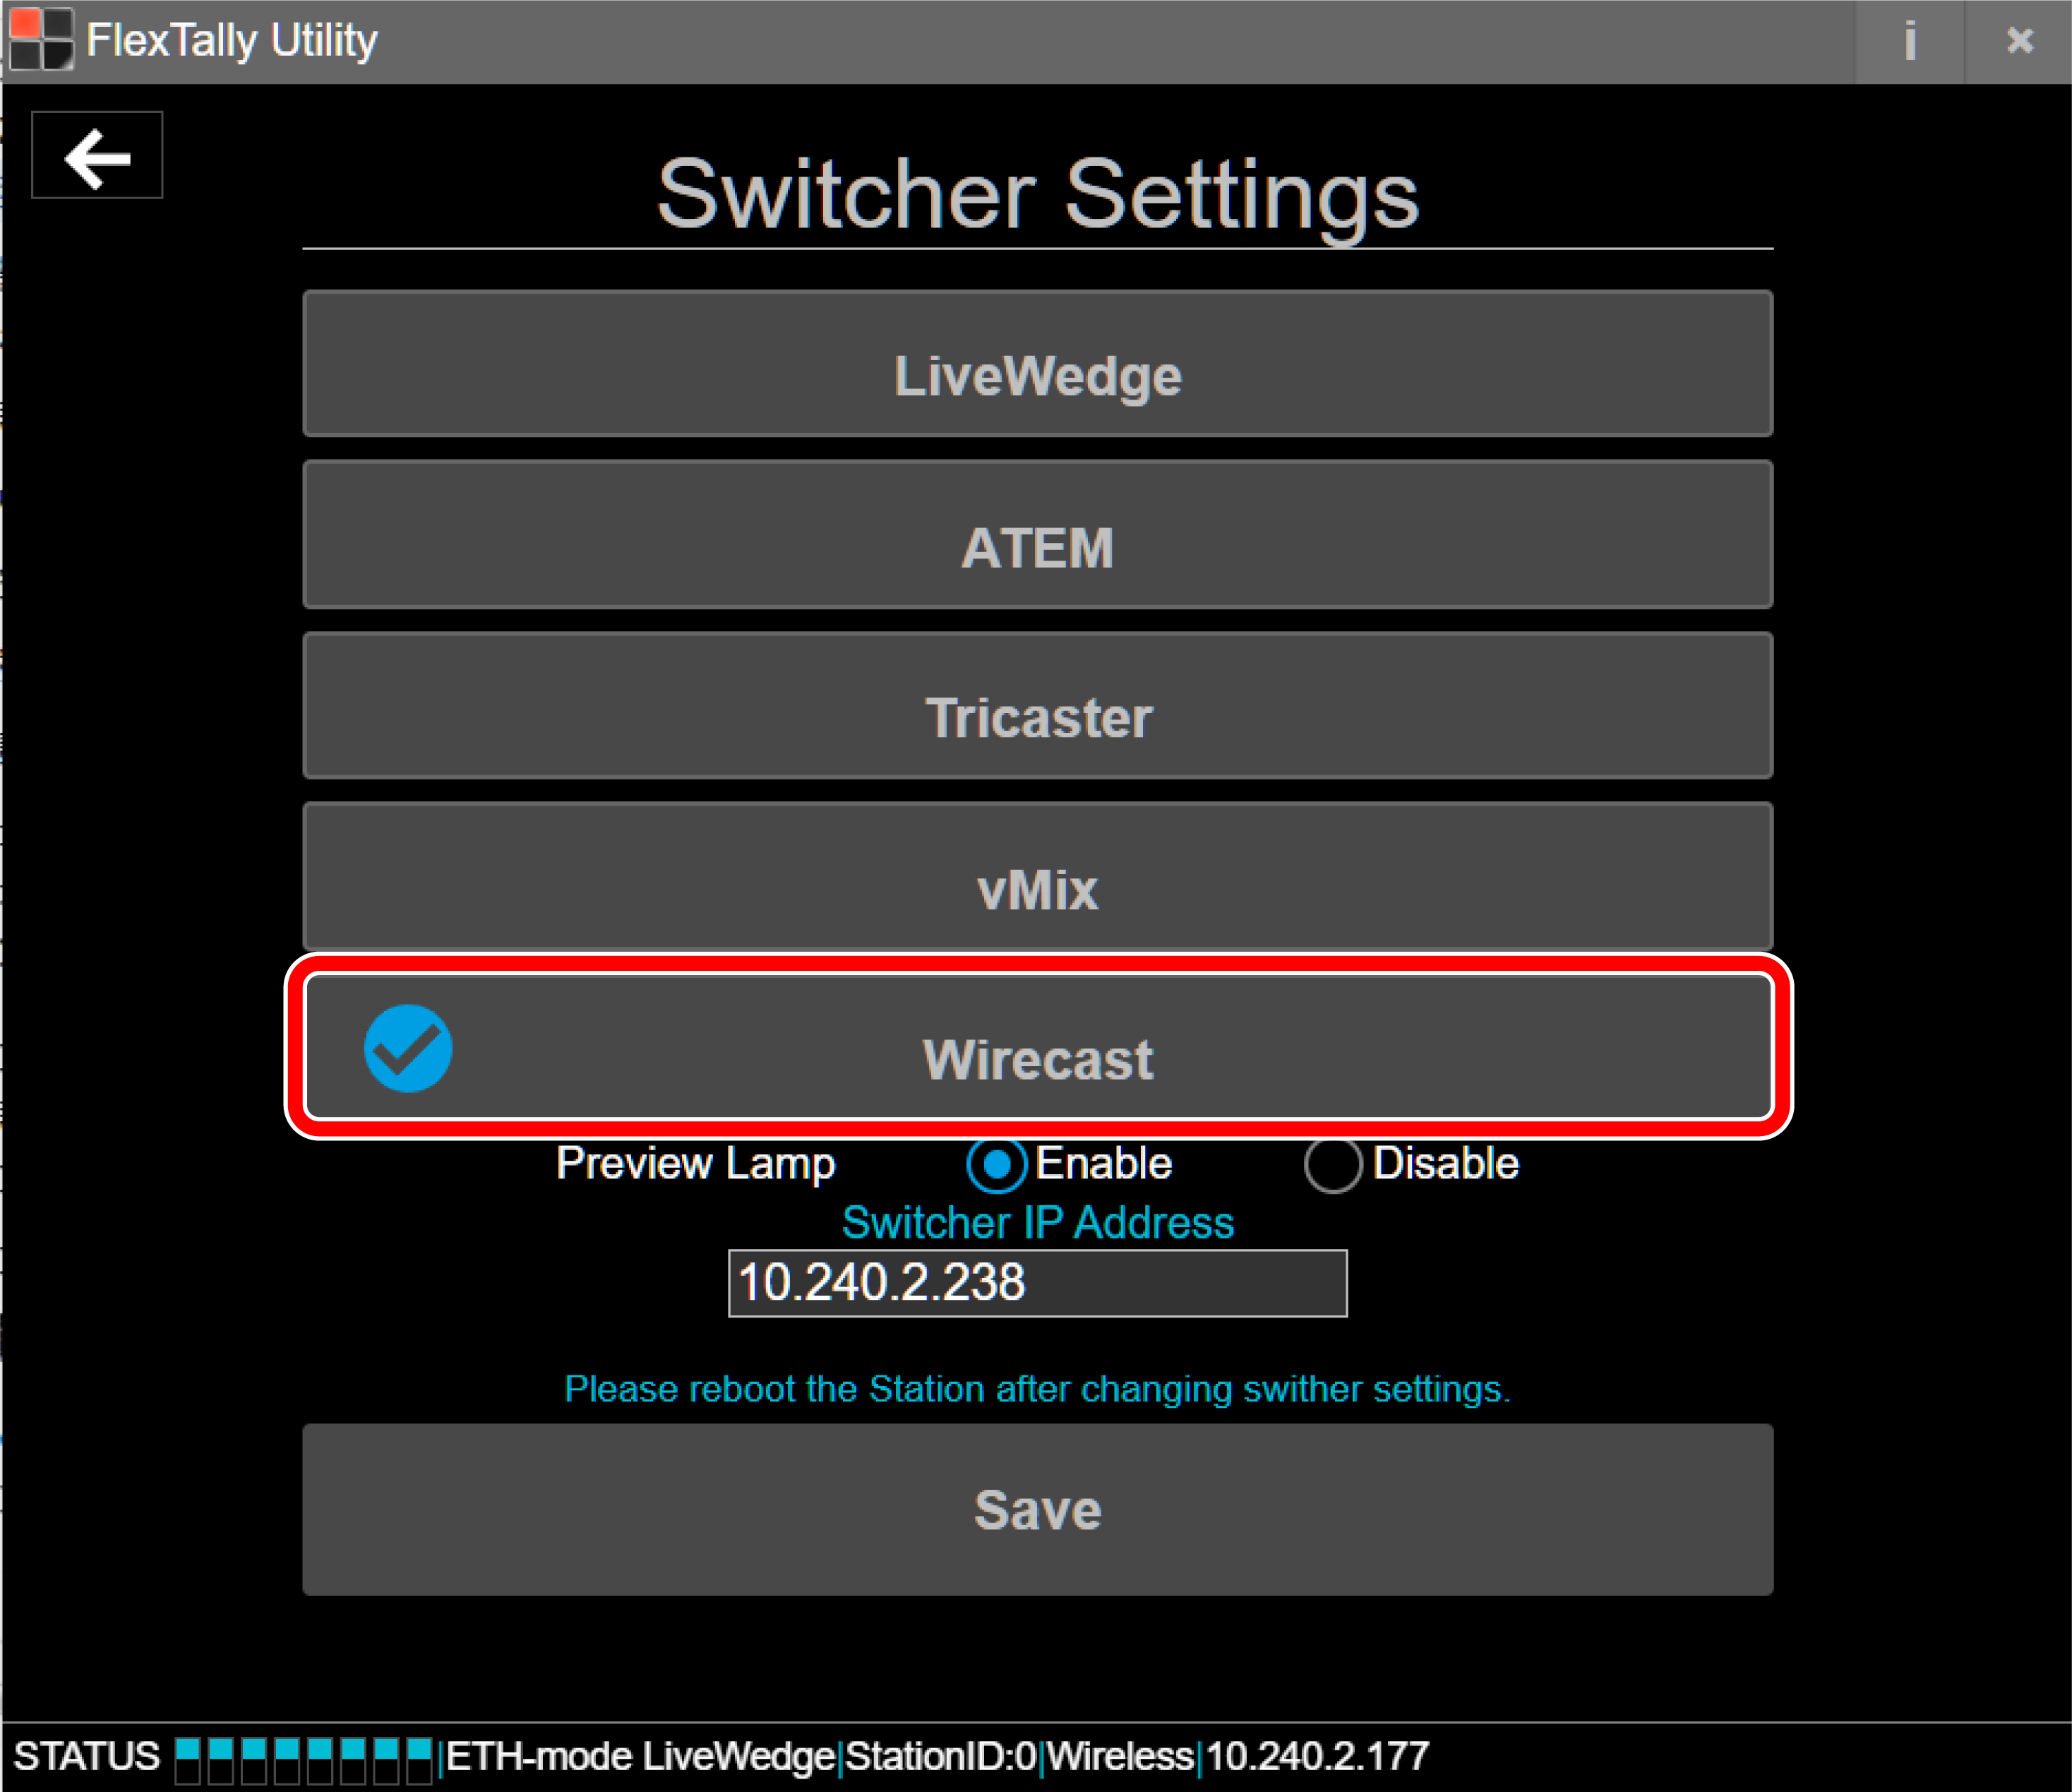
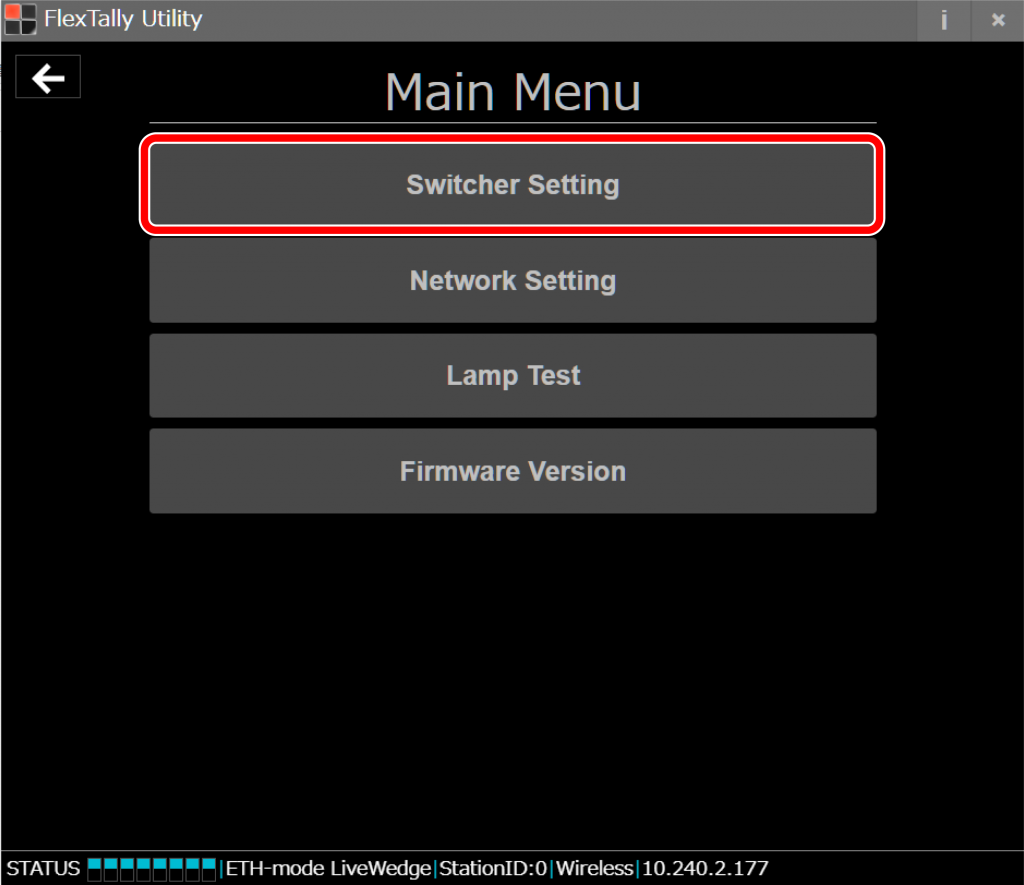
- Select “Switcher Setting”.
- Select “Wirecast”.

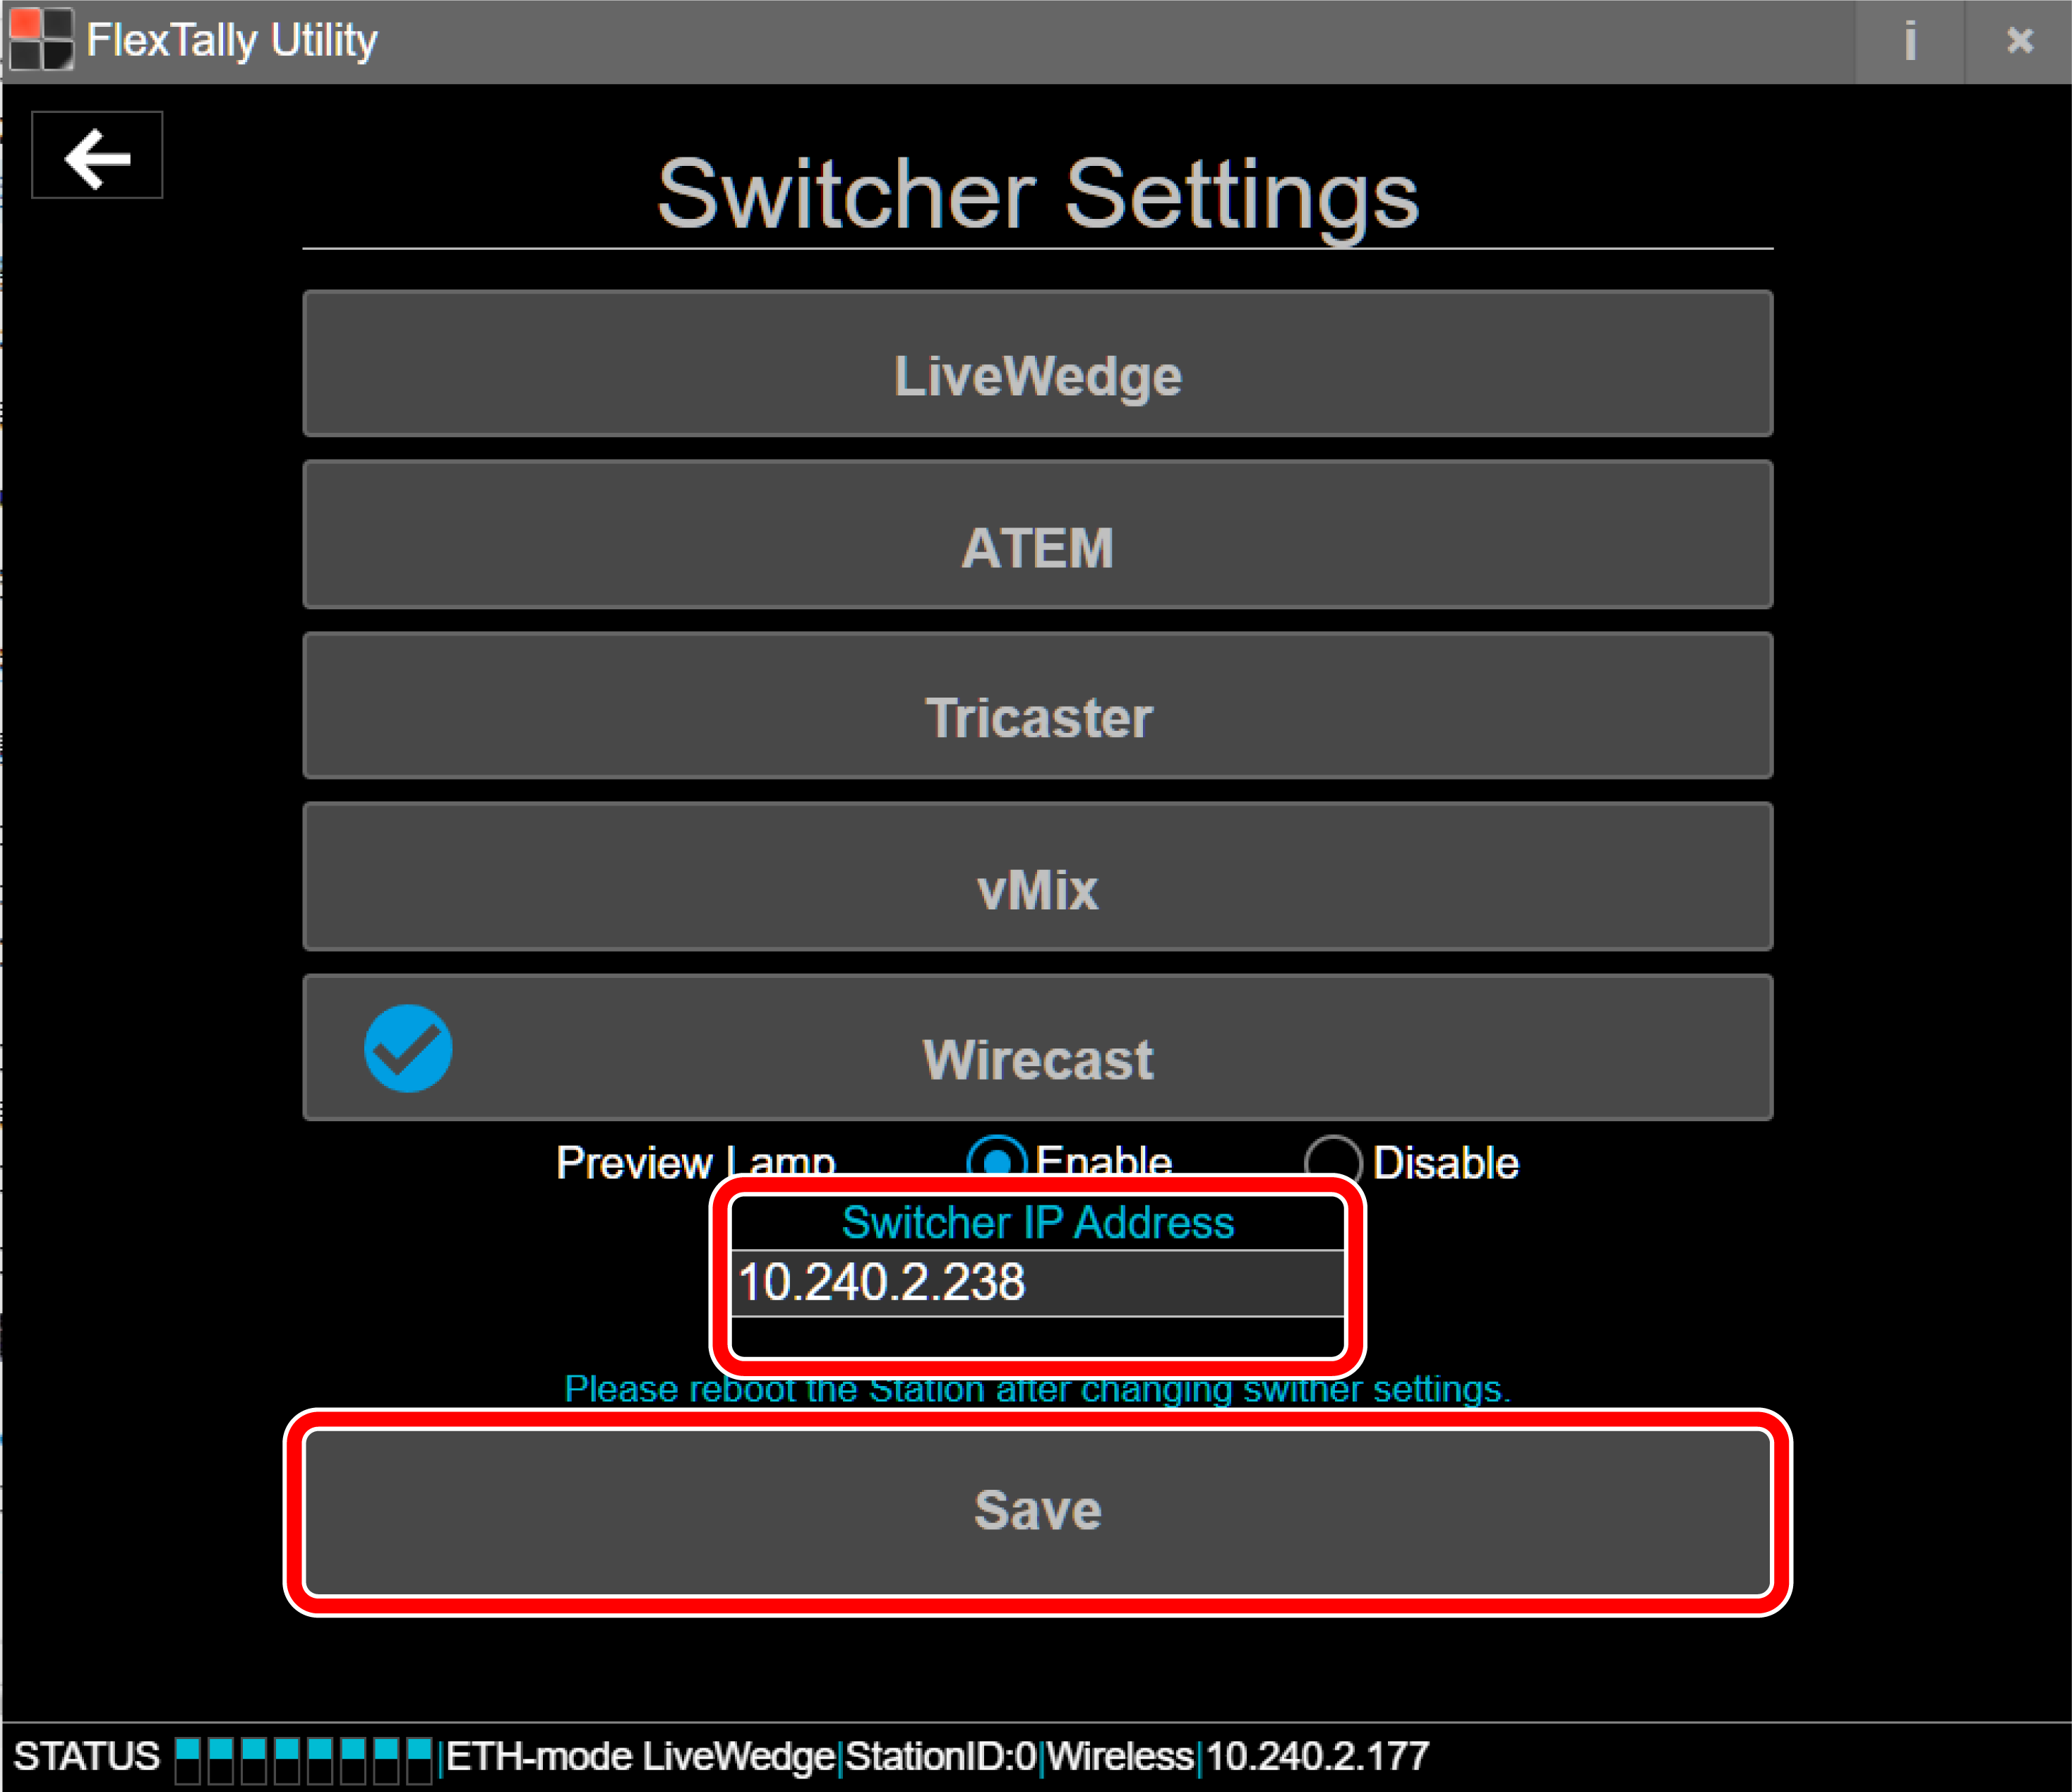
- At “Switcher IP Address”, enter the IP address of the PC which is Wirecast. Click “Save”.

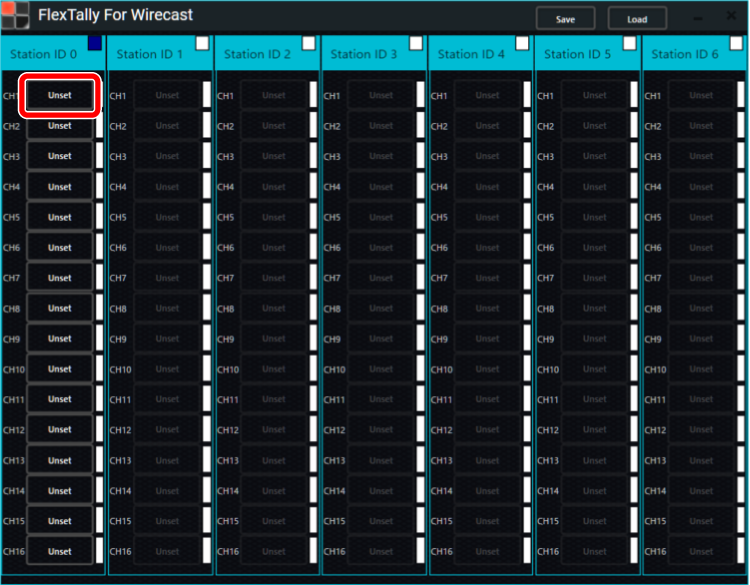
- Next, set up the Lamp Units. Start “FlexTally For Wirecast” and select “Unset” for the Lamp Units you wish to setup.
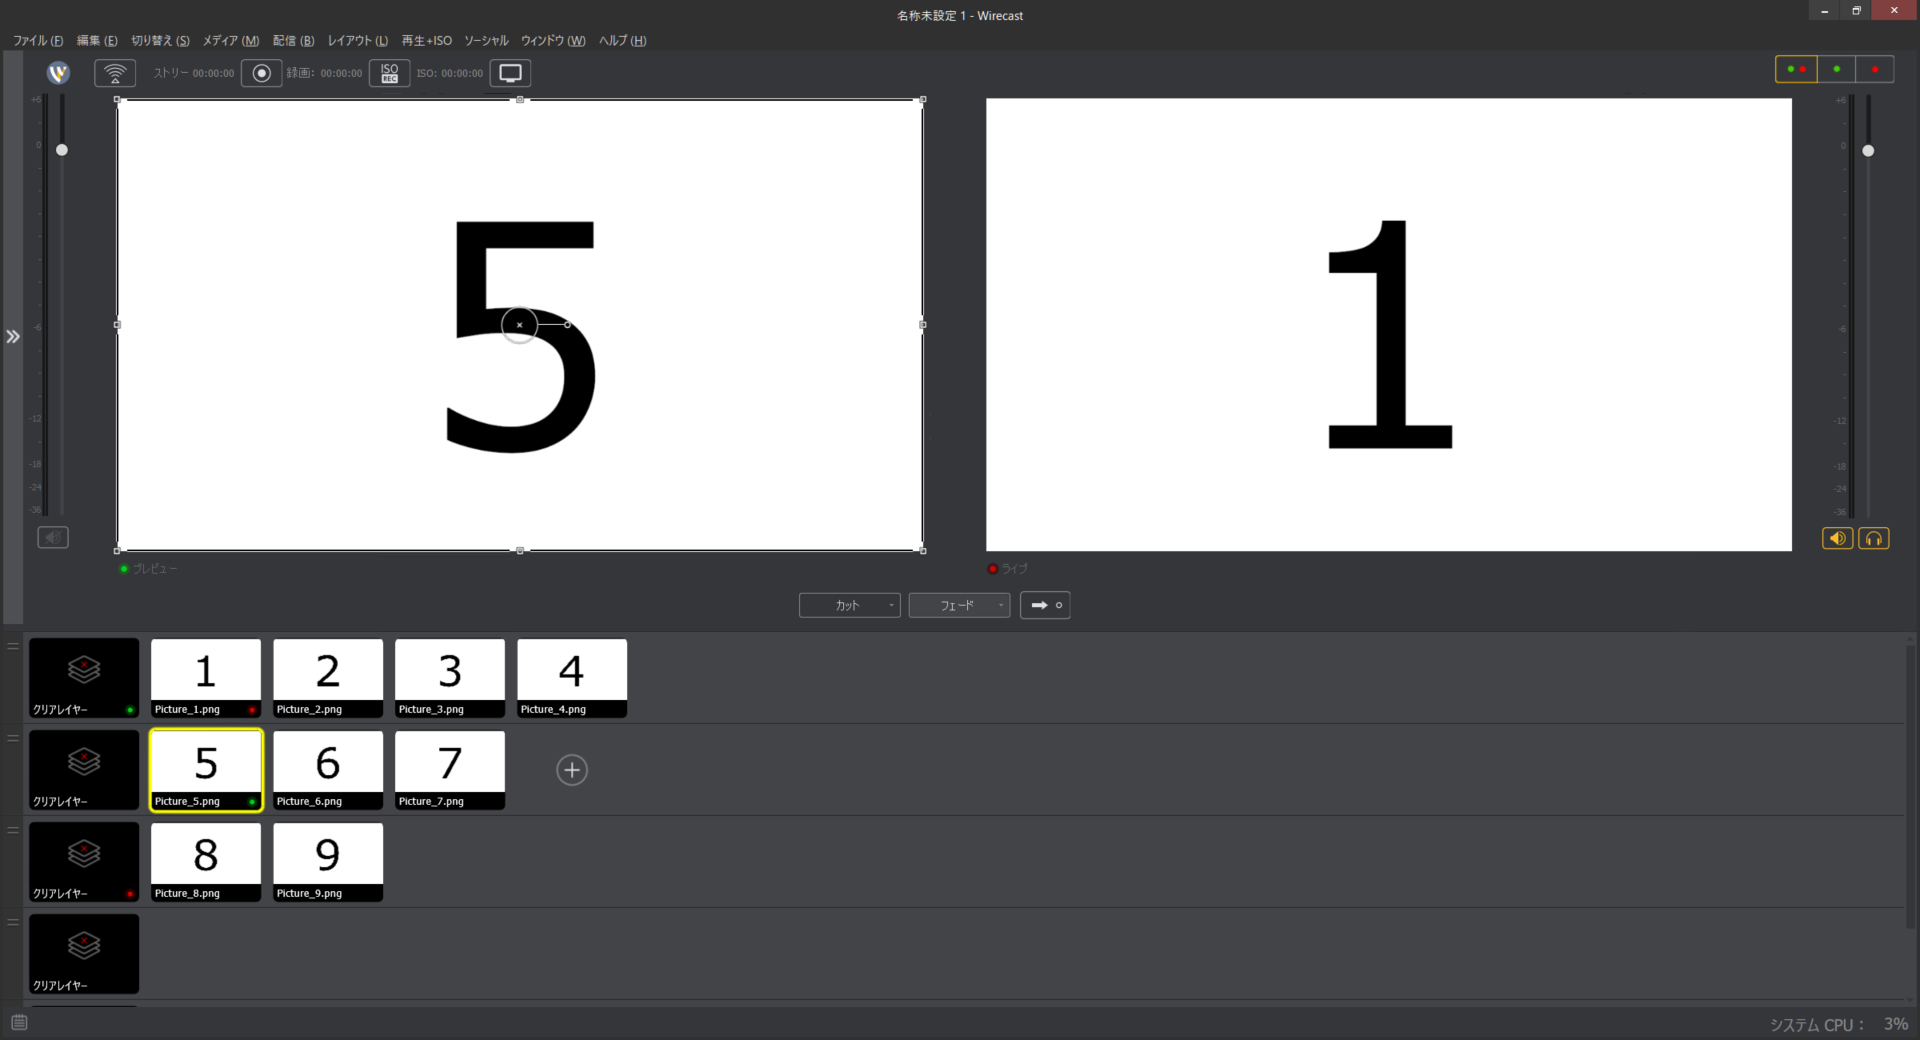
- When “Select Shots” starts, select the shot you wish to set for the Lamp Units and click “OK”. Here, as an example, we set Layer:1 Picture1.png for CH1 with Station ID 0.

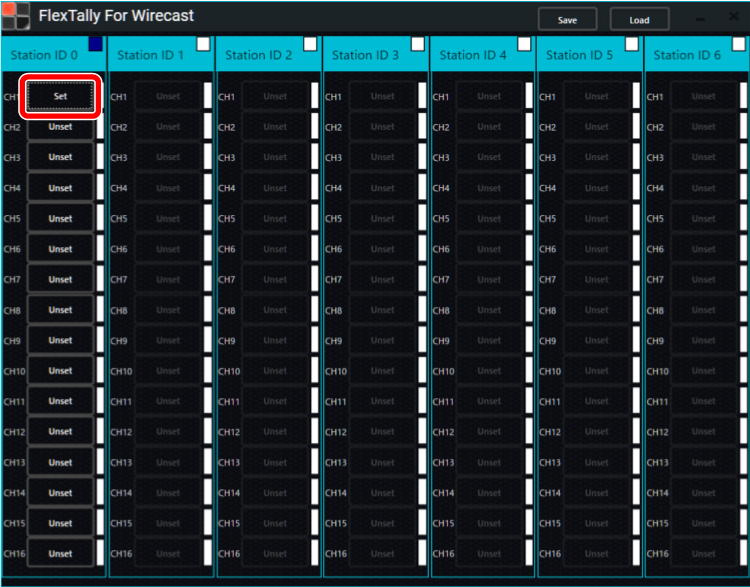
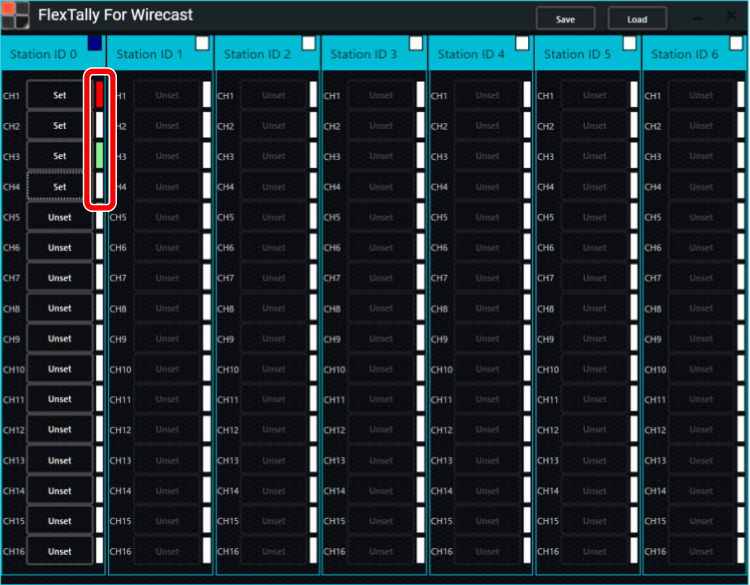
- “Unset” will change to “Set” if the Lamp Units setup is completed correctly. Set other lamps in the same way.
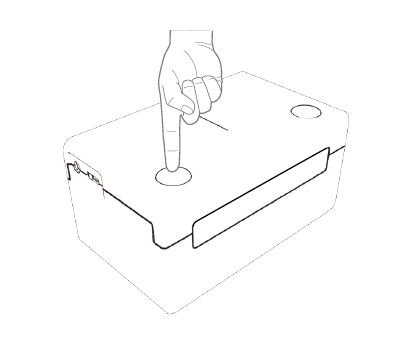
- Press and hold the power button on the Lamp Units. When the power turns on, the status LED lights up blue.
- After completing the settings, use Wirecast to select transitions and previews, and check if the Lamps light up. If the settings are correct, the Lamp Units color notation on “FlexTally For Wirecast” will also light up in red or green accordingly.
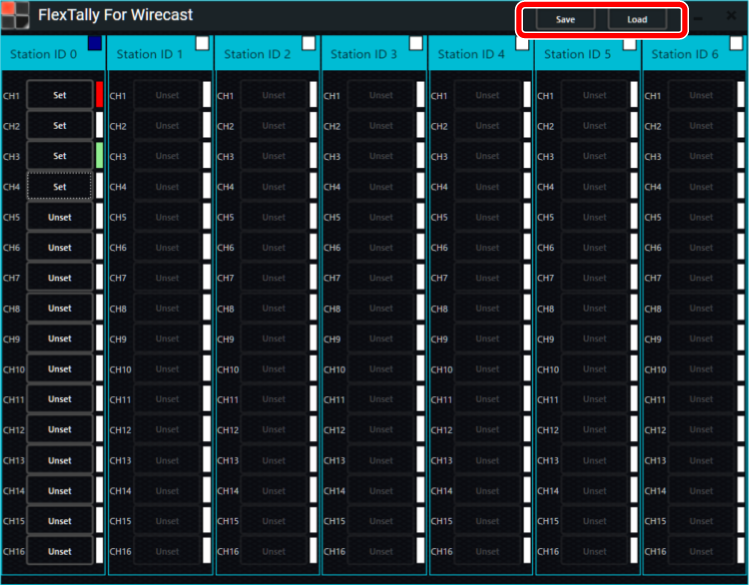
- To save the Lamp Unit settings, click “Save” in “FlexTally For Wirecast”. To load saved settings, click “Load” to load the settings file.
Troubleshooting
- I get an error and cannot update the Station Unit firmware. → Please start FlexTally Utility as an Administrator.
- I am unable to connect to the station unit.→ Please change the setting to fixed IP instead of DHCP. Click here for configuration instructions.
- I can’t set the lamp in FlexTally For Wirecast.→ Please check that the IP address you entered in “Switcher IP Address” in FlexTally Utility is correct.
Note
- Since the “Test Lamps” option in “FlexTally Utility” is affected by the Wirecast connection, please test when Wirecast is not connected.