Preparation
- Prepare a PC for setting.
- Install “FlexTally Utility” on the setting PC. Click here for installation instructions.
- Please update the firmware of the FlexTally Station Unit to the latest version. See here for how to update.
- Make sure the Lamp Units are fully charged.
- Connect the Station and the Lamp Units. Connection methods are here.
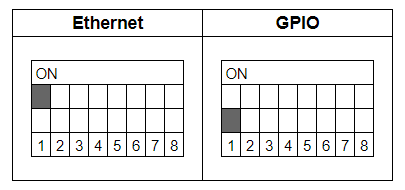
- Turn ON the No.1 DIP switch on the Station and change the connection method to “Ethernet”.
Setup Steps
- Set the DIP switches of each Lamp Units for the channels to be used (please refer here for details).
- Connect the Station Unit, TriCaster and setup PC to the same network.
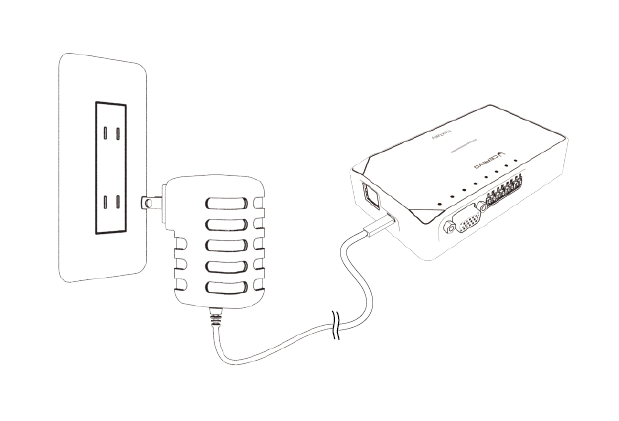
- Connect the AC adapter to the Station Unit and turn it on. When the power turns on, the status LED lights up blue.
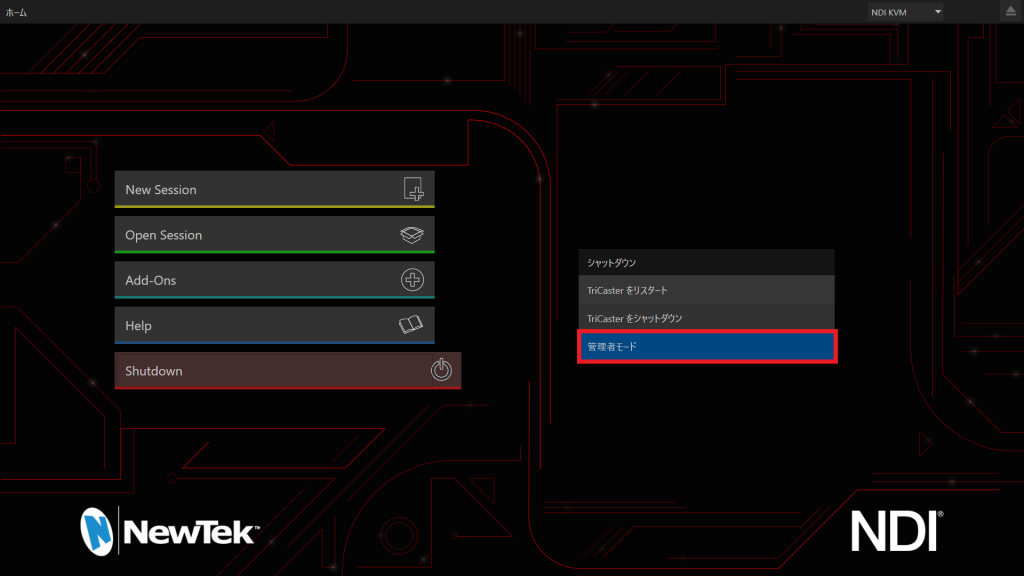
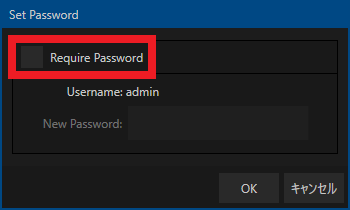
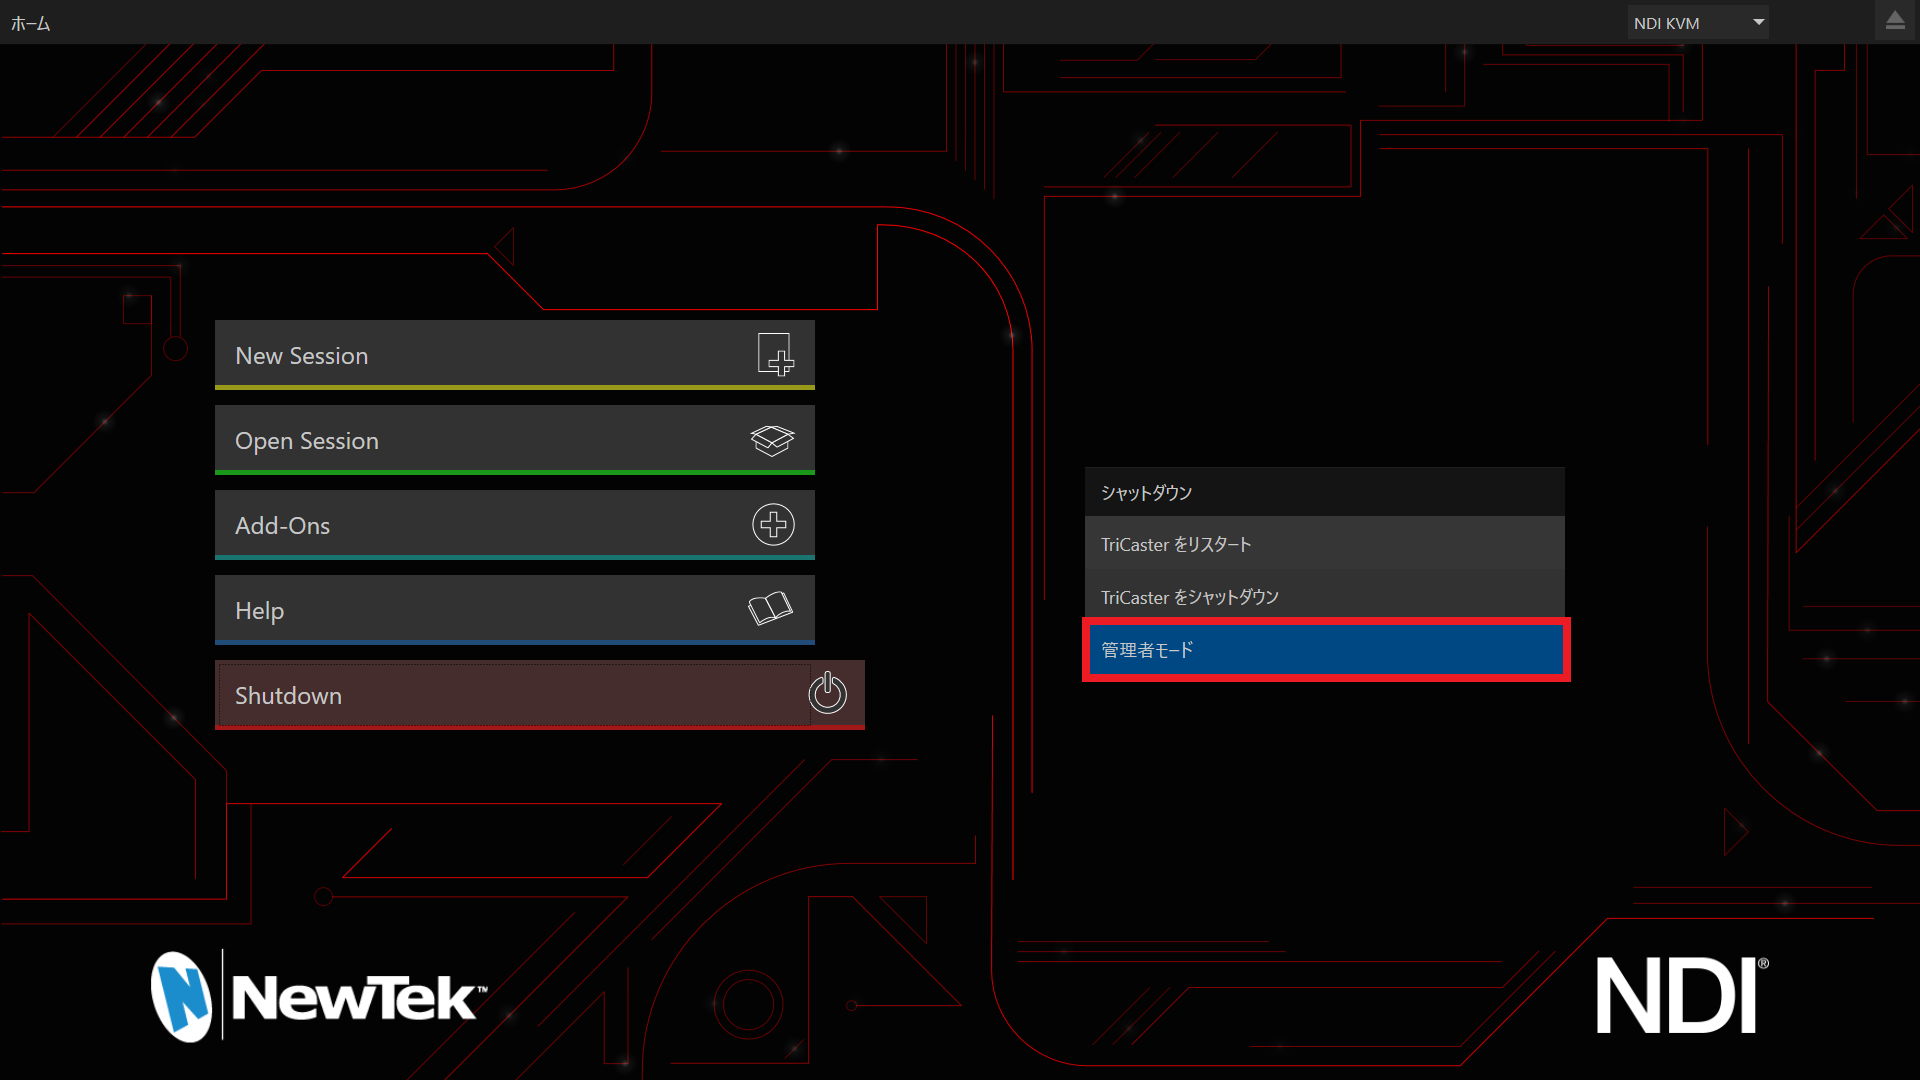
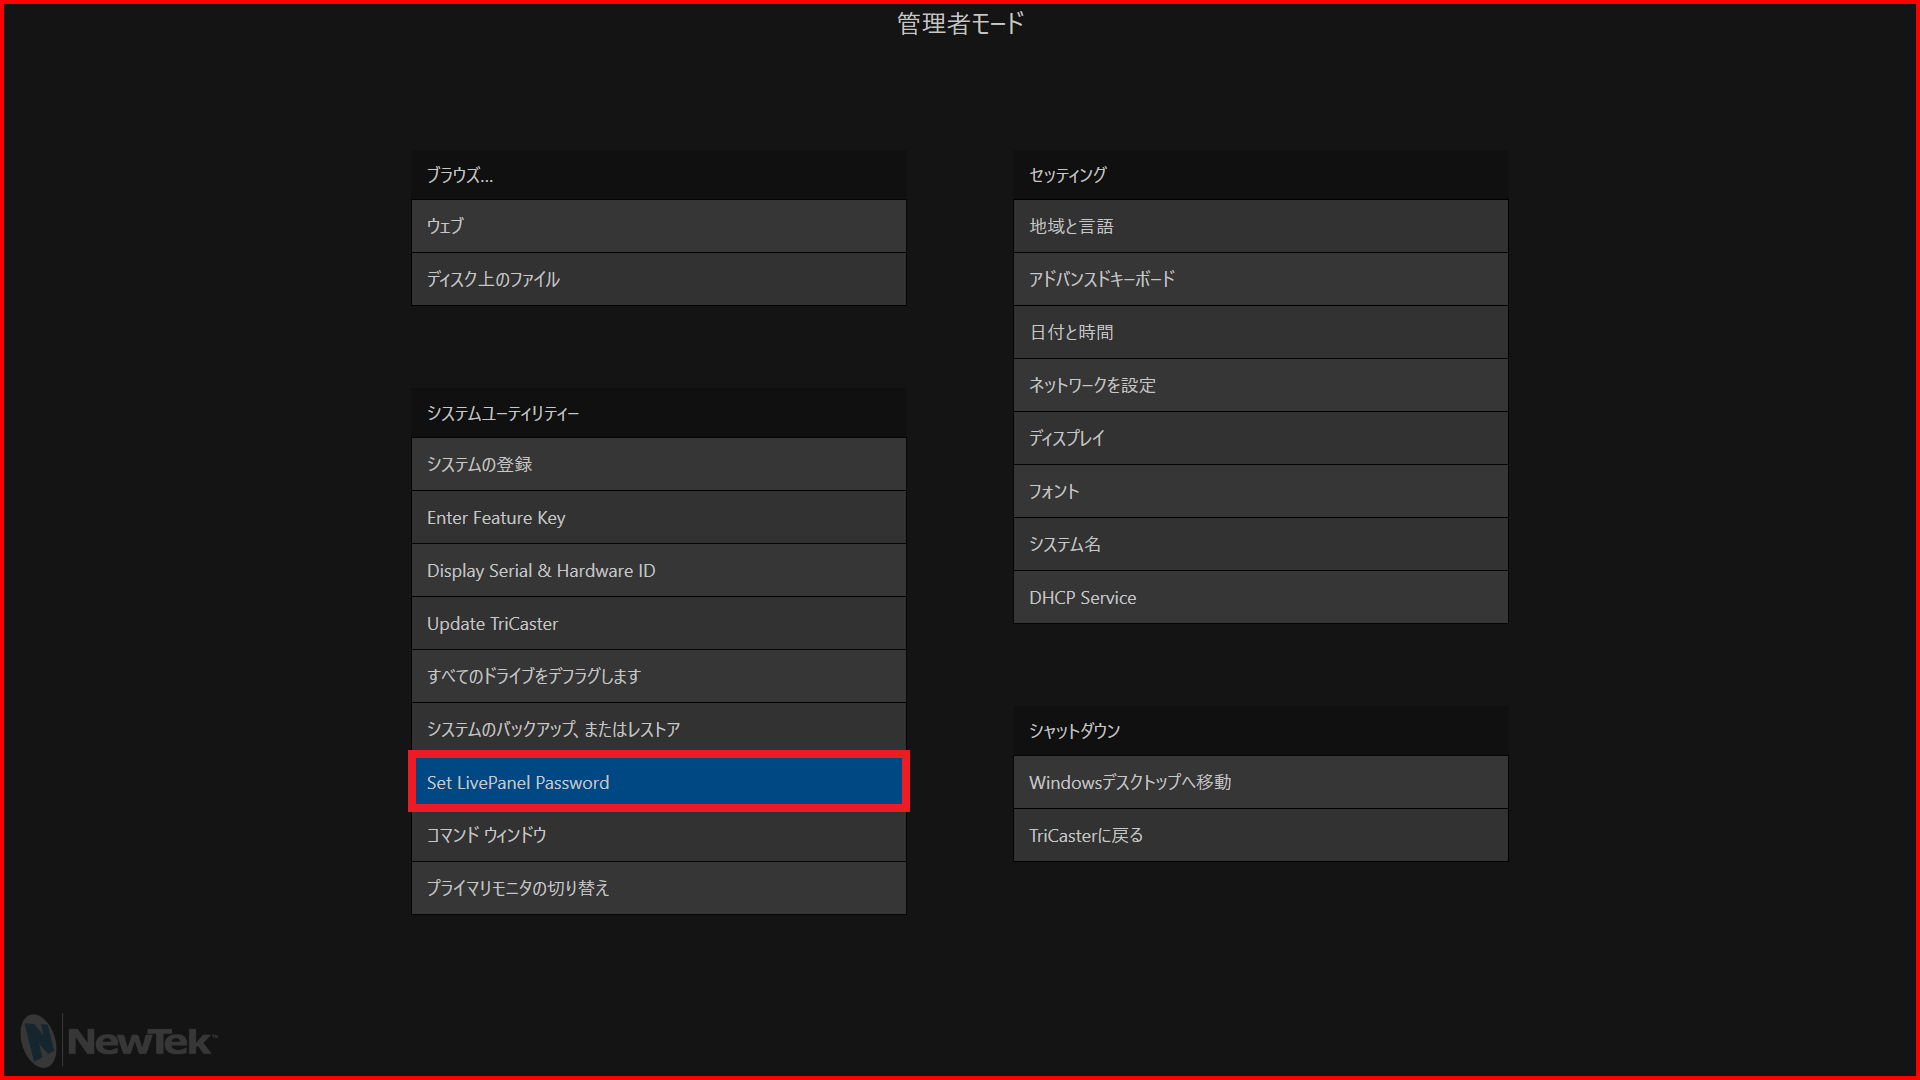
- Reset TriCaster password so that FlexTally can access TriCaster via the network. At TriCaster main page; Shutdown -> Admin mode -> Set LivePanel. Remove the check mark at Require Password. Click the OK button.

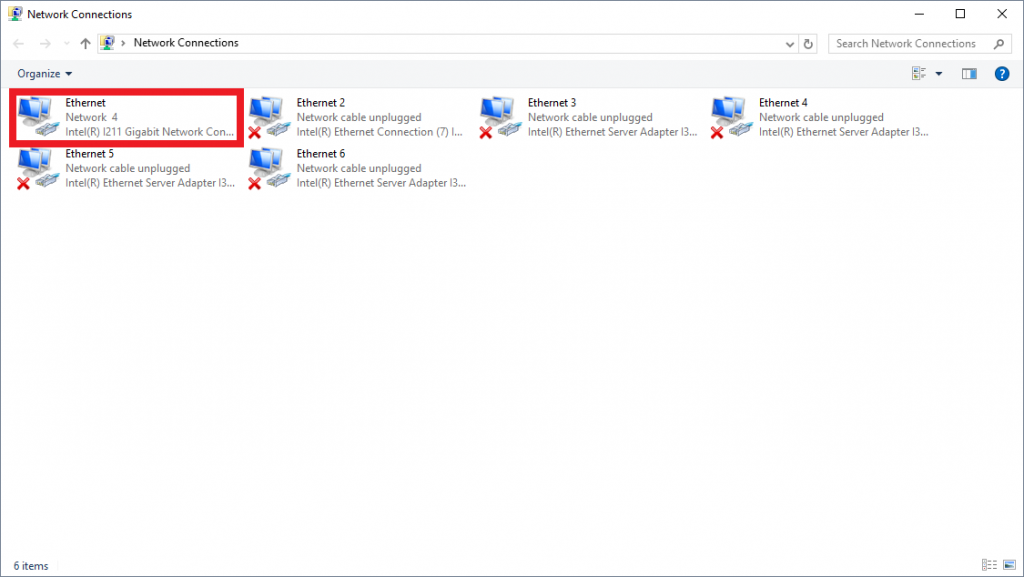
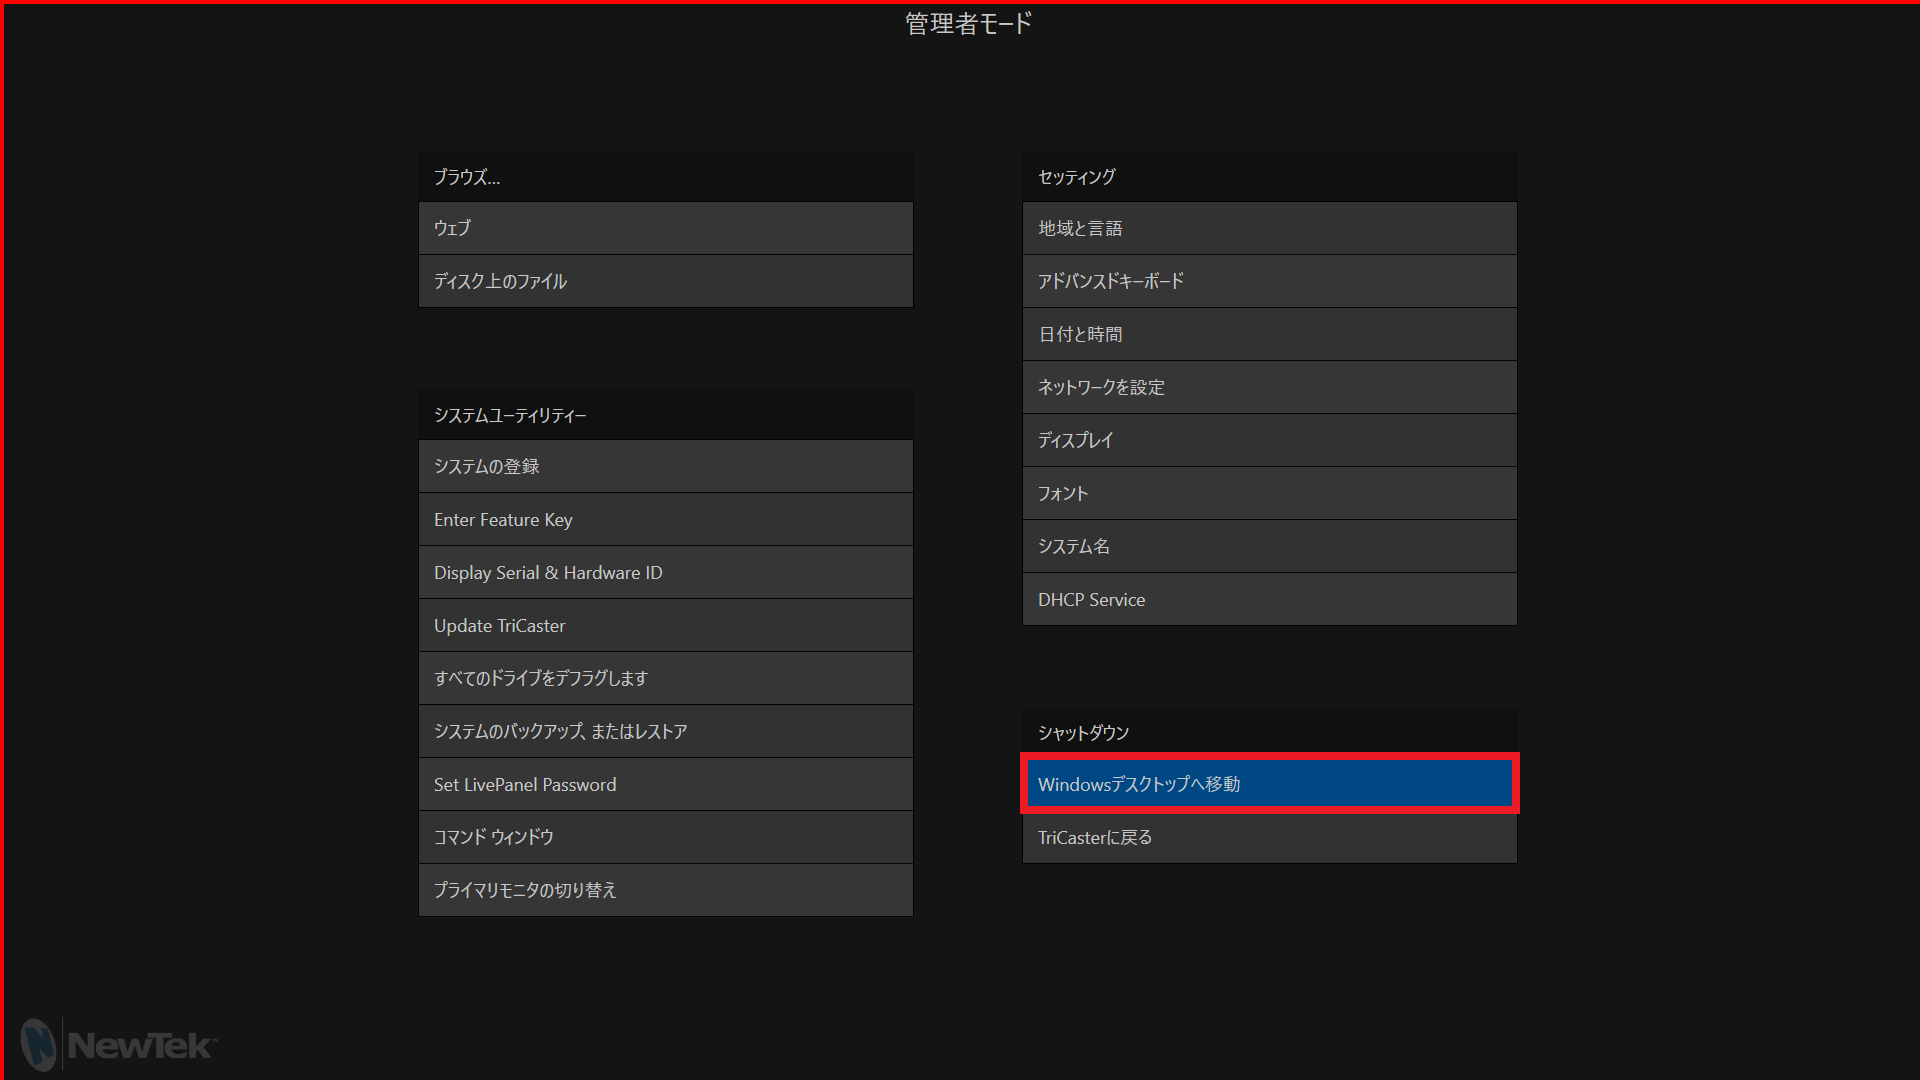
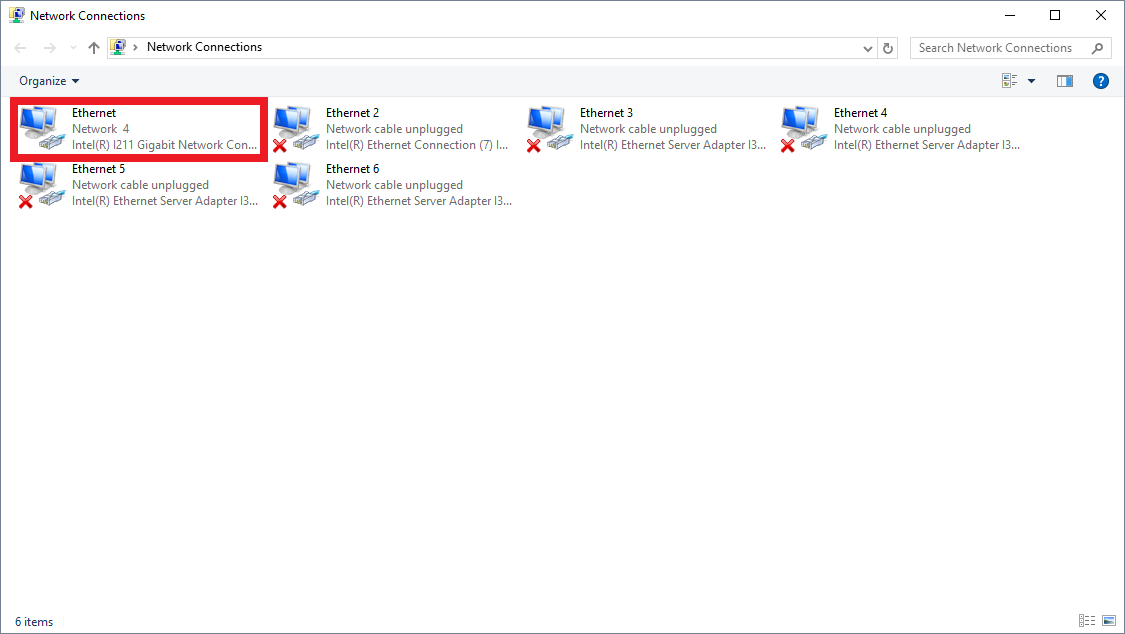
- Set TriCaster IP address. At TriCaster Admin Mode; Move Windows Desktop -> Control Panel -> Network and Internet -> Network and Sharing Center -> Change Adapter Setting -> Set the Fixed IP address from the Ethernet Property connecting to the network.

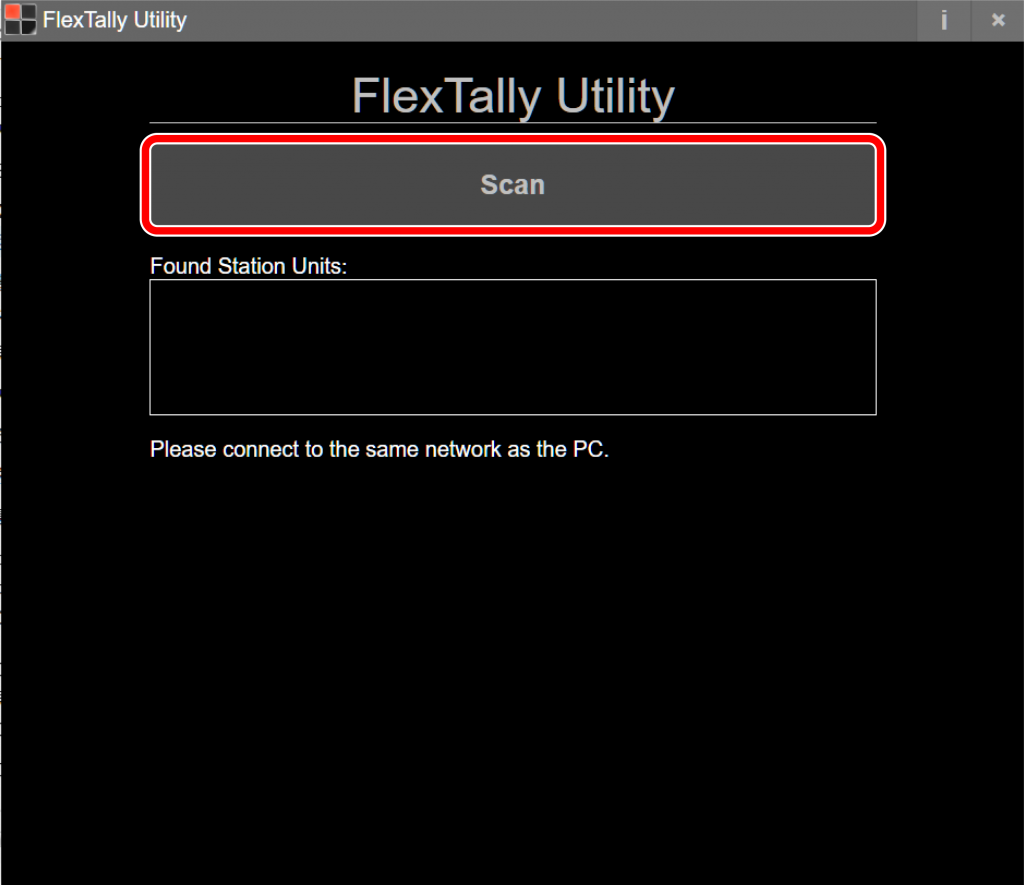
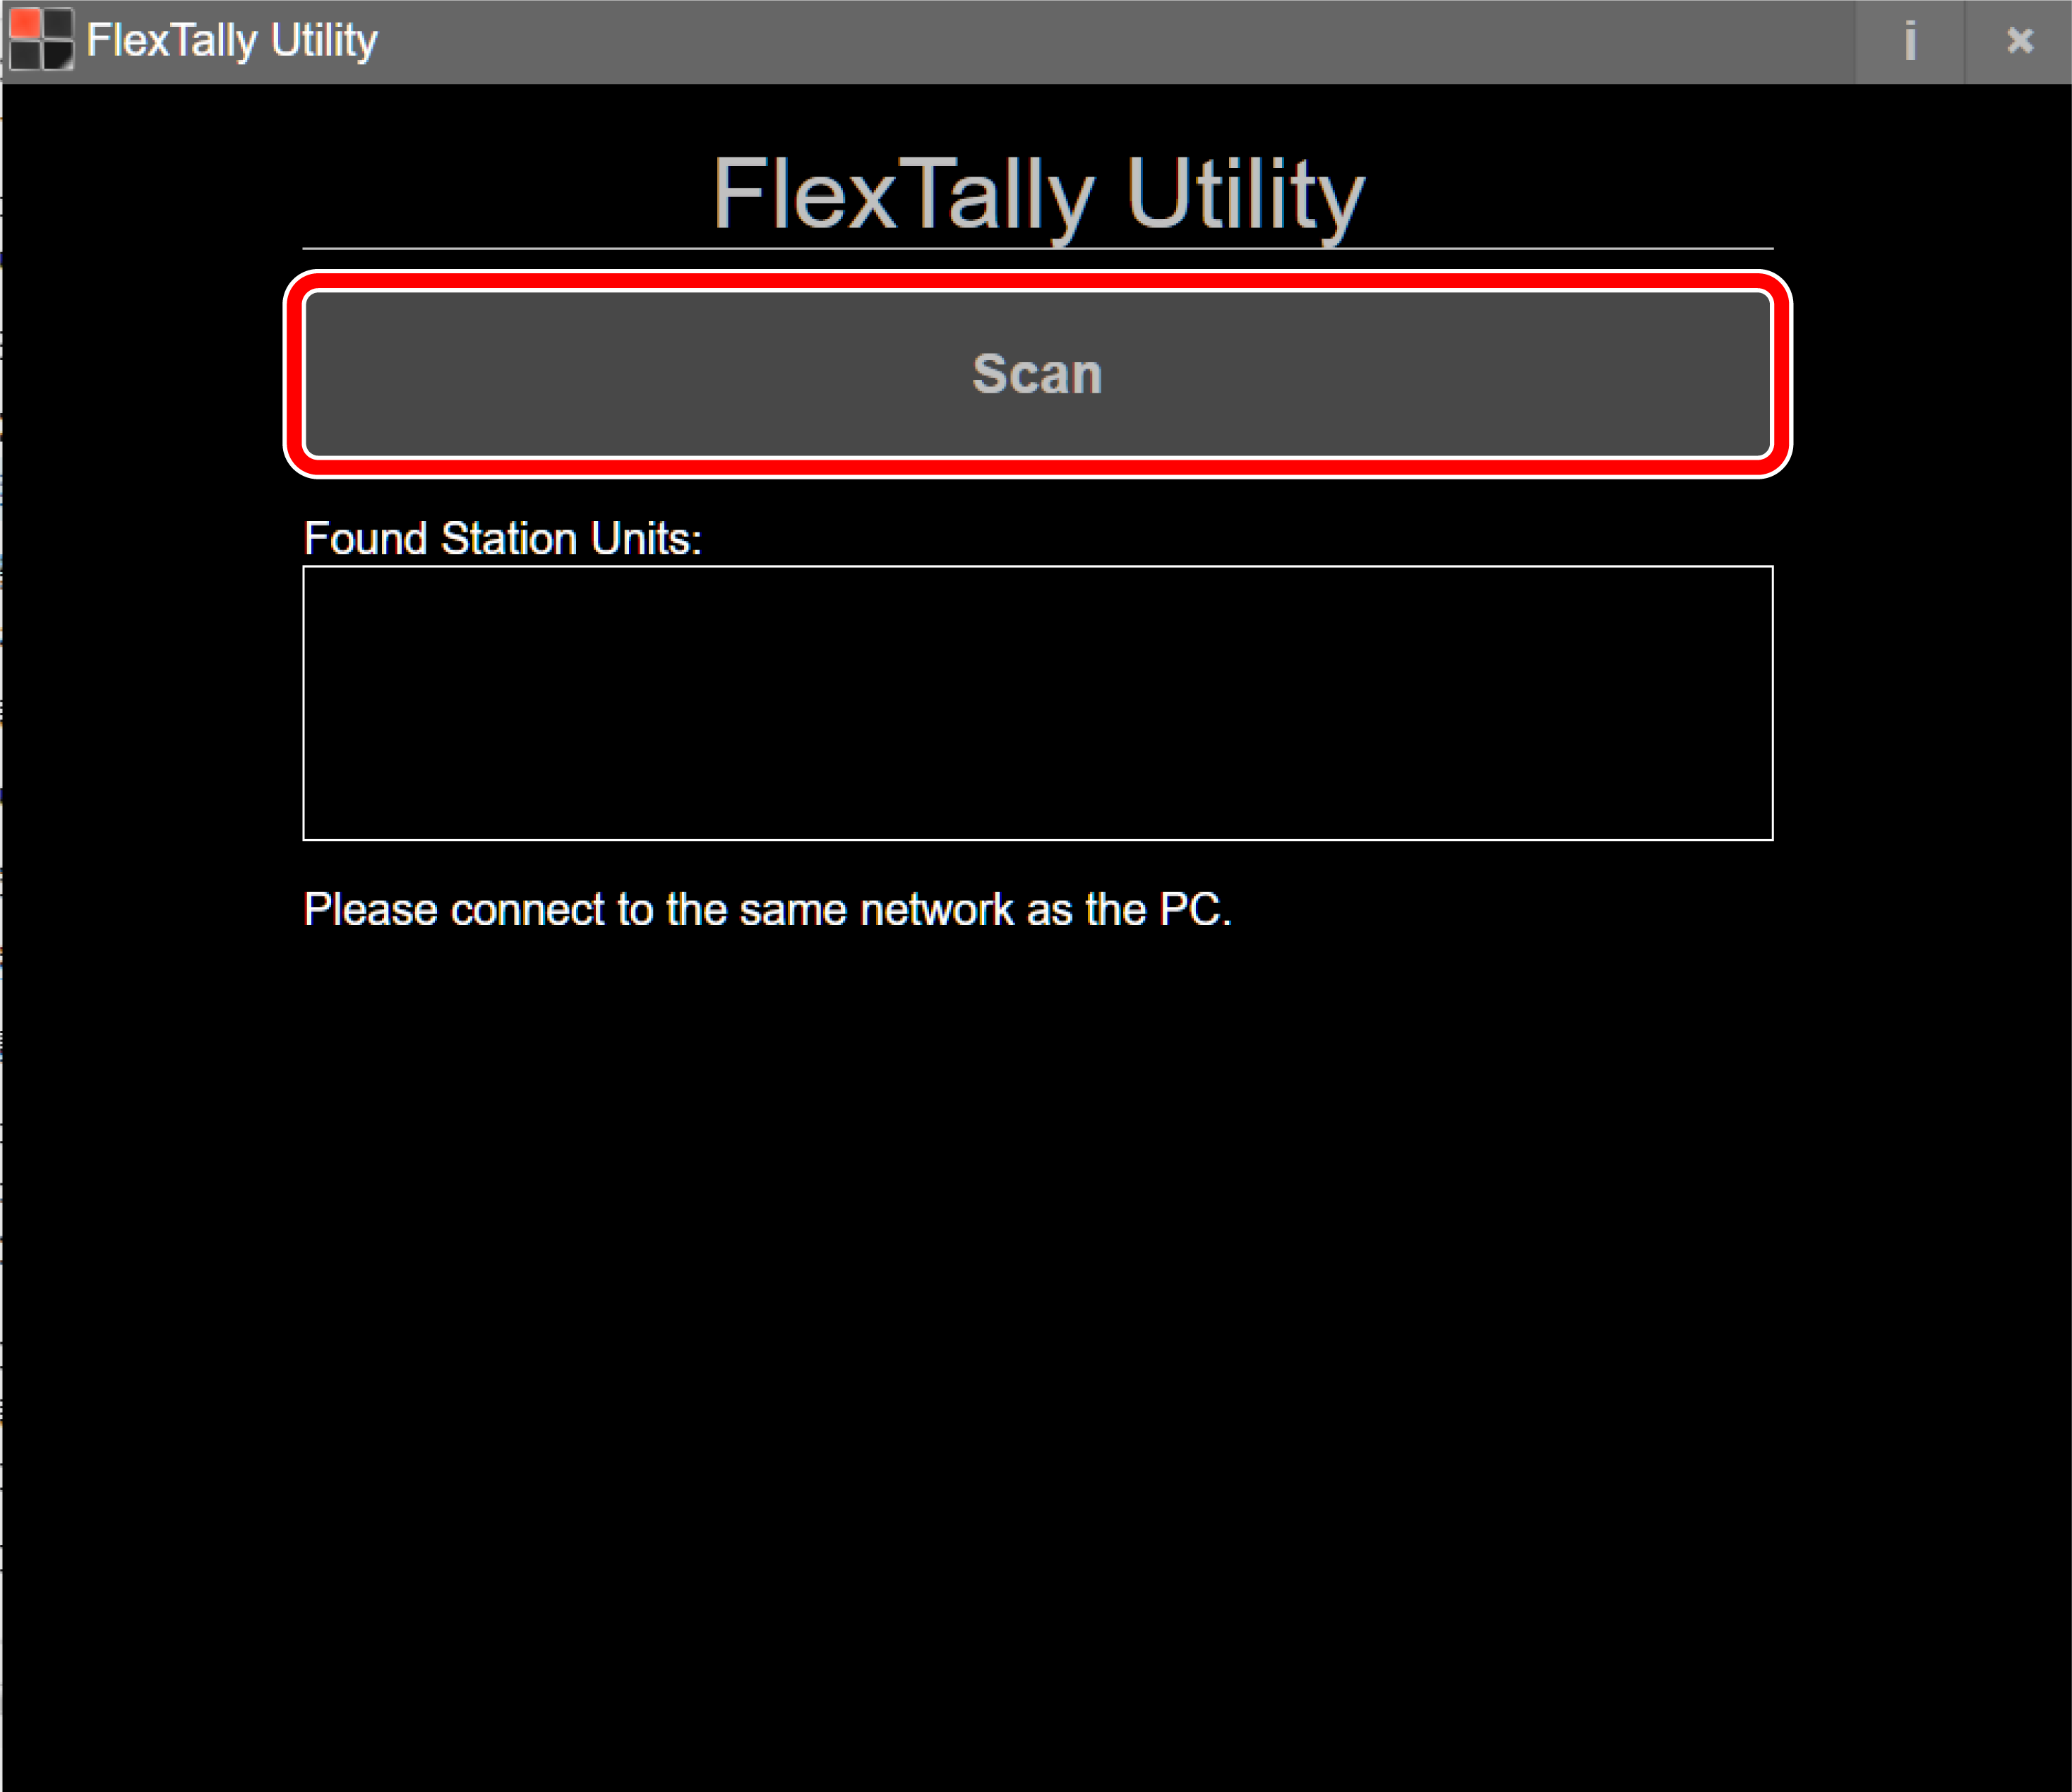
- Set FlexTally Fixed IP address. Start FlexTally Utility, select “Scan”.
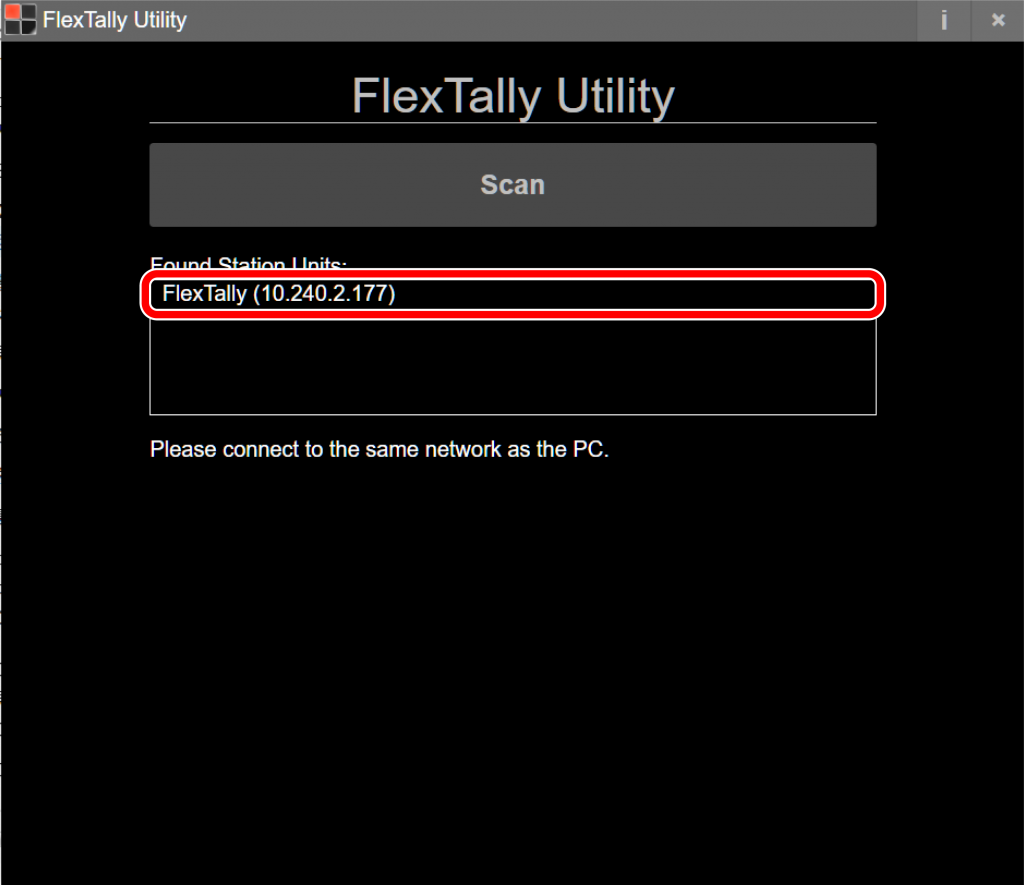
- When the station Unit is found, the IP address of the Station Unit will be displayed. Click on the IP address.
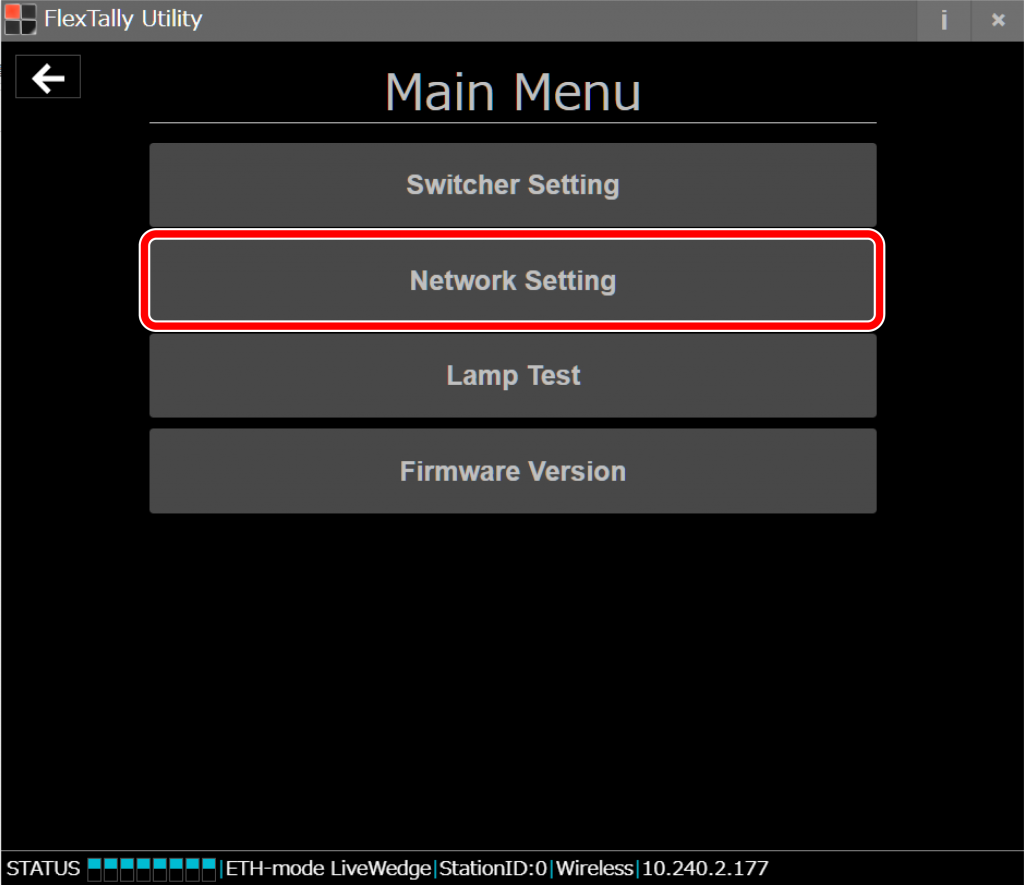
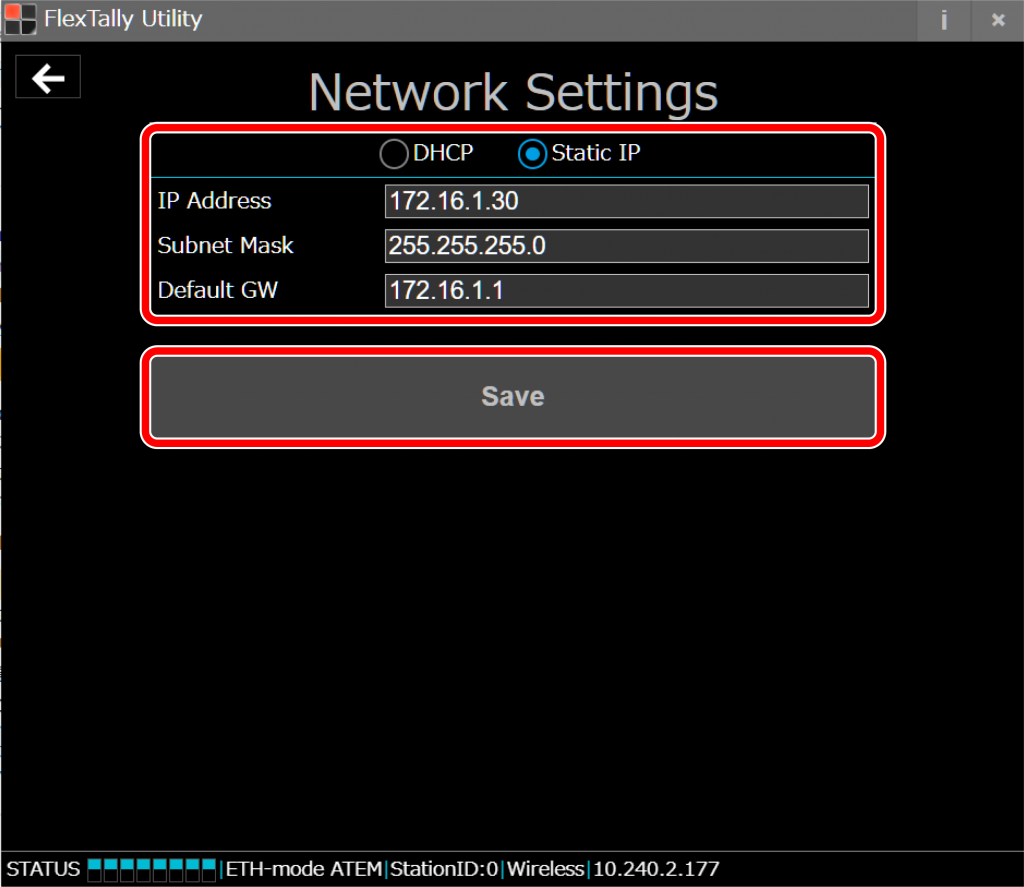
- Select “Network Setting”.
- Set the IP address of the FlexTally Station Unit so that it is in the same network as the TriCaster. Click “Save”. After setting, restart the station (by removing and reconnecting the USB power supply).
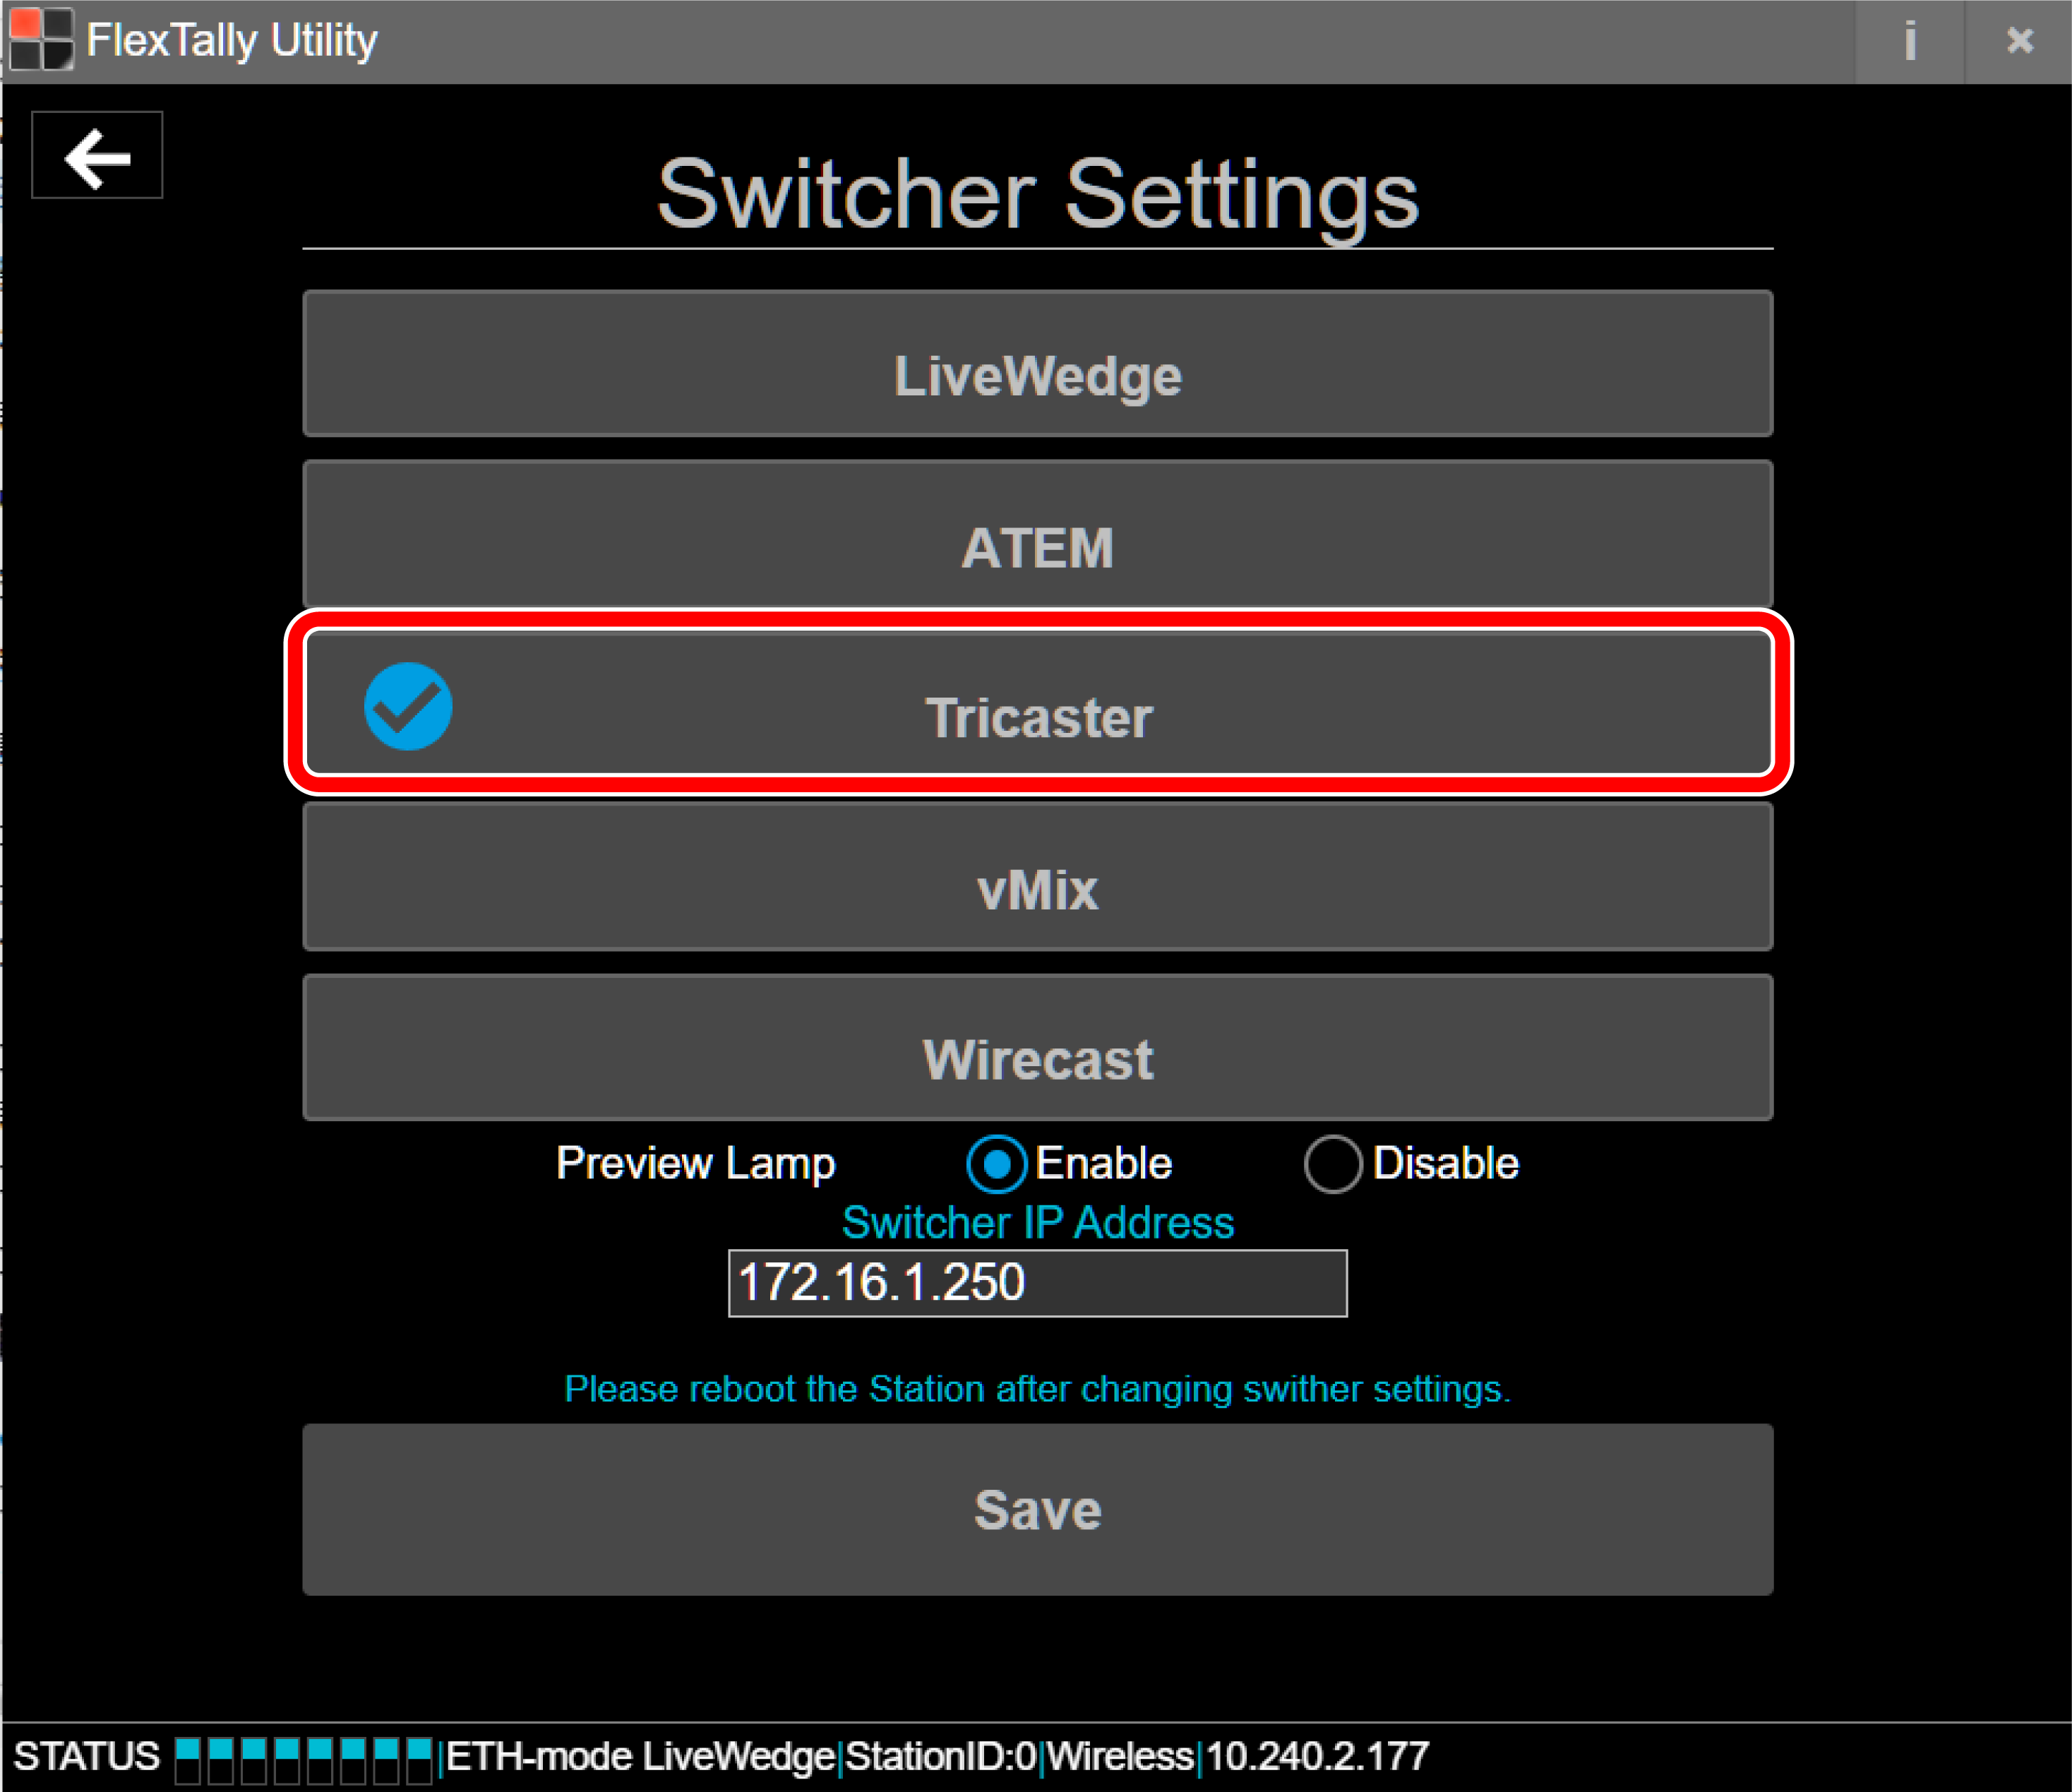
- After restarting the Station Unit, select “Switcher Setting”.
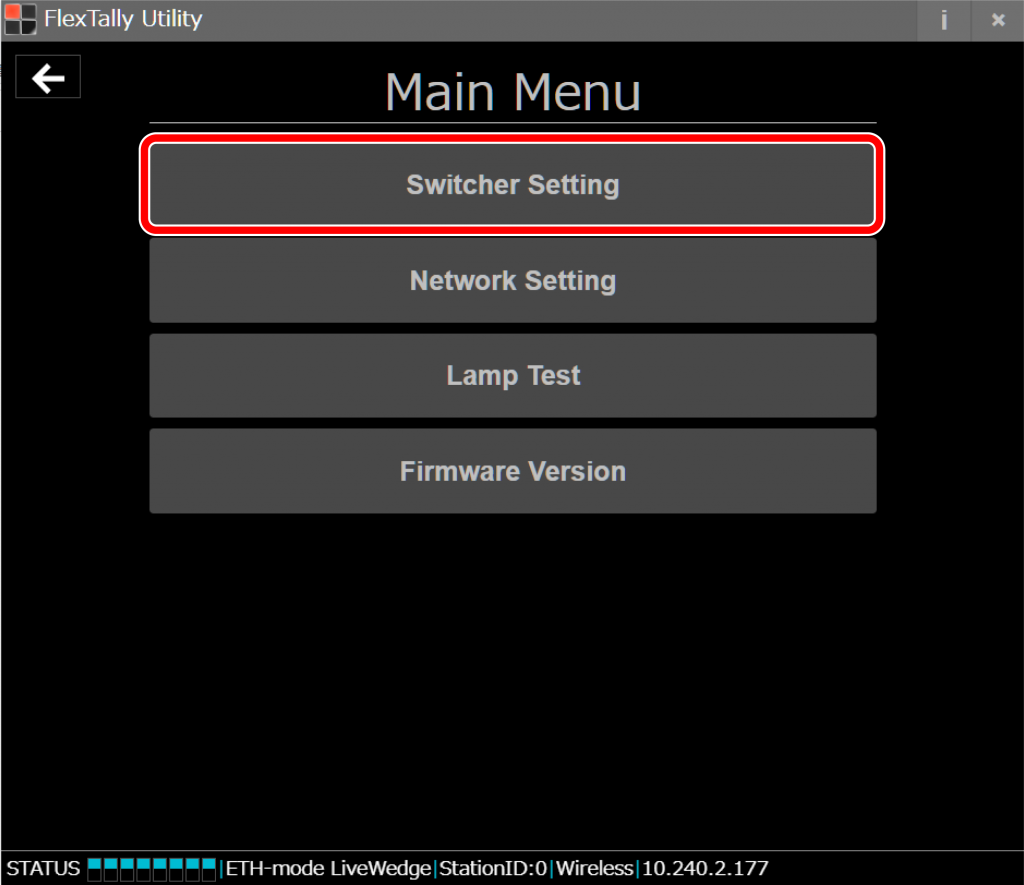
- Select “TriCaster”

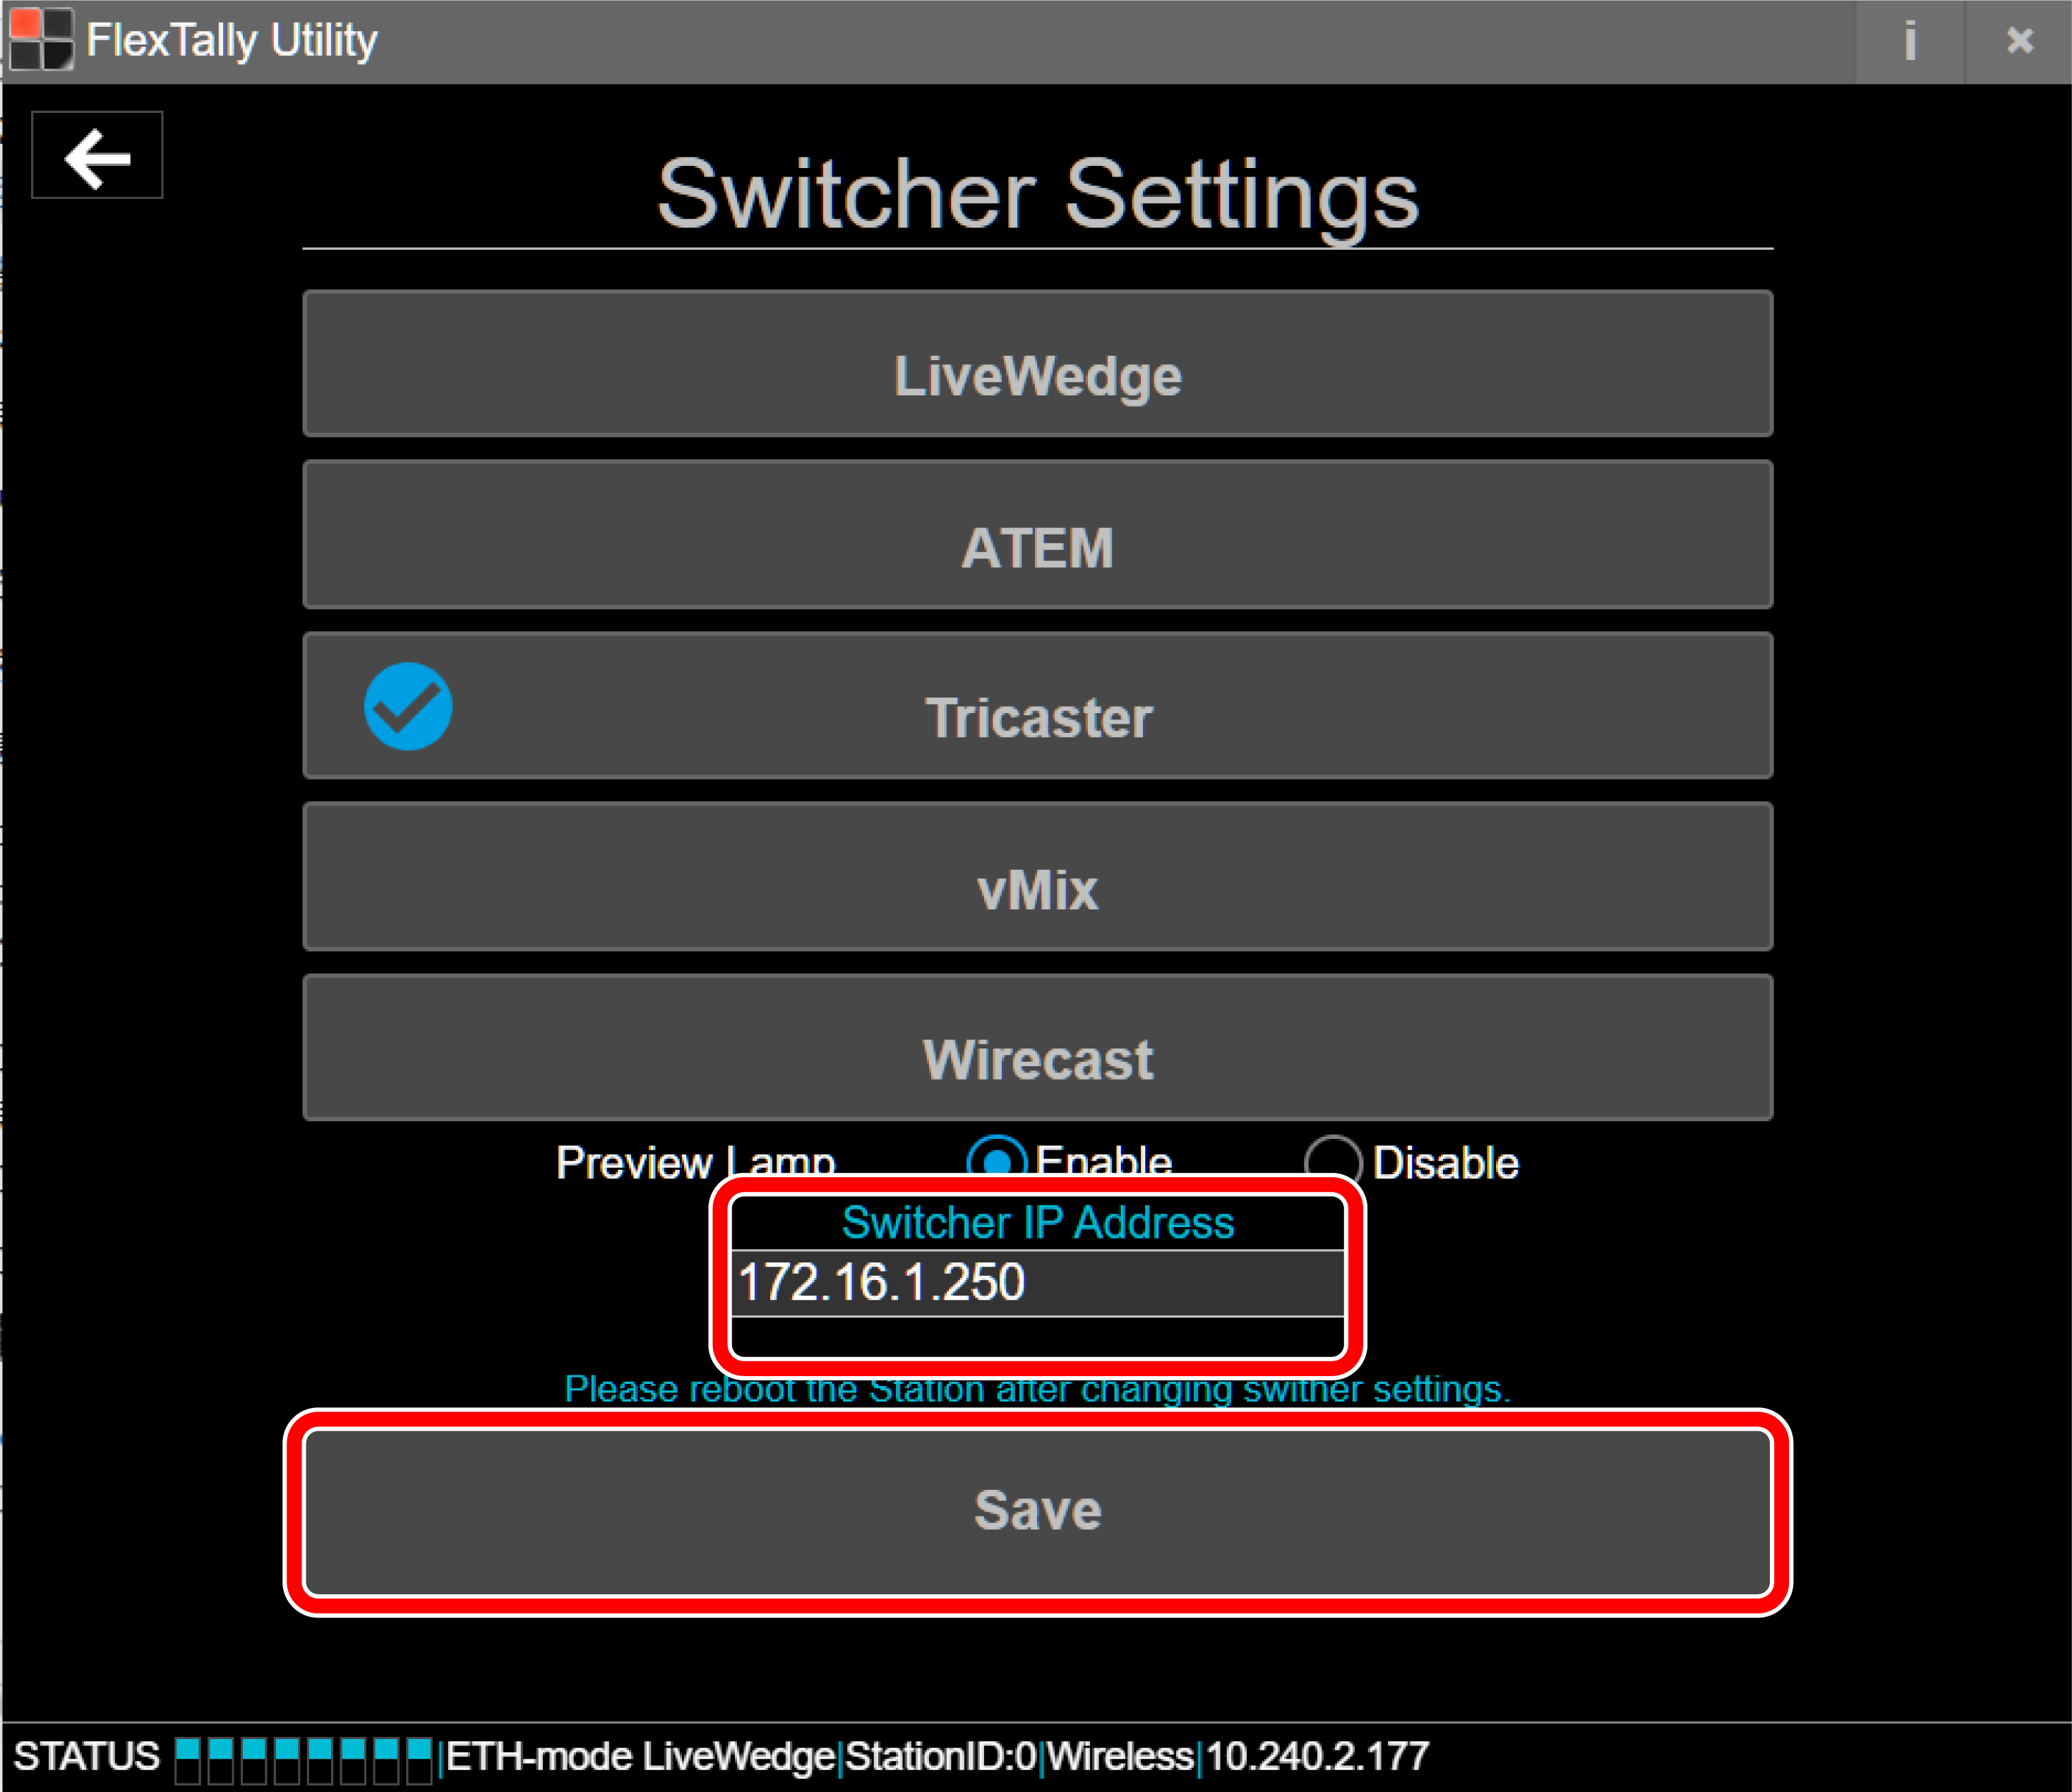
- Enter the IP address of the TriCaster and click “Save”.

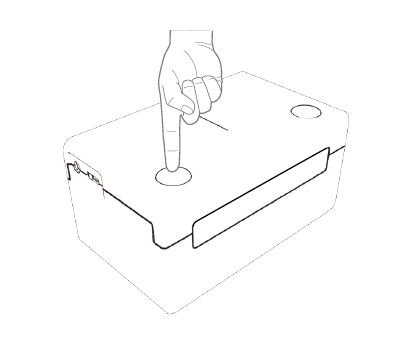
- Press and hold the power button on the Lamp Unit. When the power turns on, the status LED lights up blue.
- Switch channels using TriCaster and check each the Lamp Units response.


Note
- Since the “Test Lamps” option in “FlexTally Utility” is affected by the TriCaster connection, please test when TriCaster is not connected.